Welcome to Received Digital!
The Mailroom user role in Received Digital is designed for mailroom operators. With the Mailroom role, you have access to the Mailroom section in the left menu where you can receive and manage mail and packages for your organization.
Getting to know the Mailroom section
Here is a quick overview of what you can find on each page under the Mailroom section.
Dashboard
The dashboard gives you a visual snapshot of some key metrics regarding mailroom operations. Each widget provides specific information that can help drive decisions and report on performance.

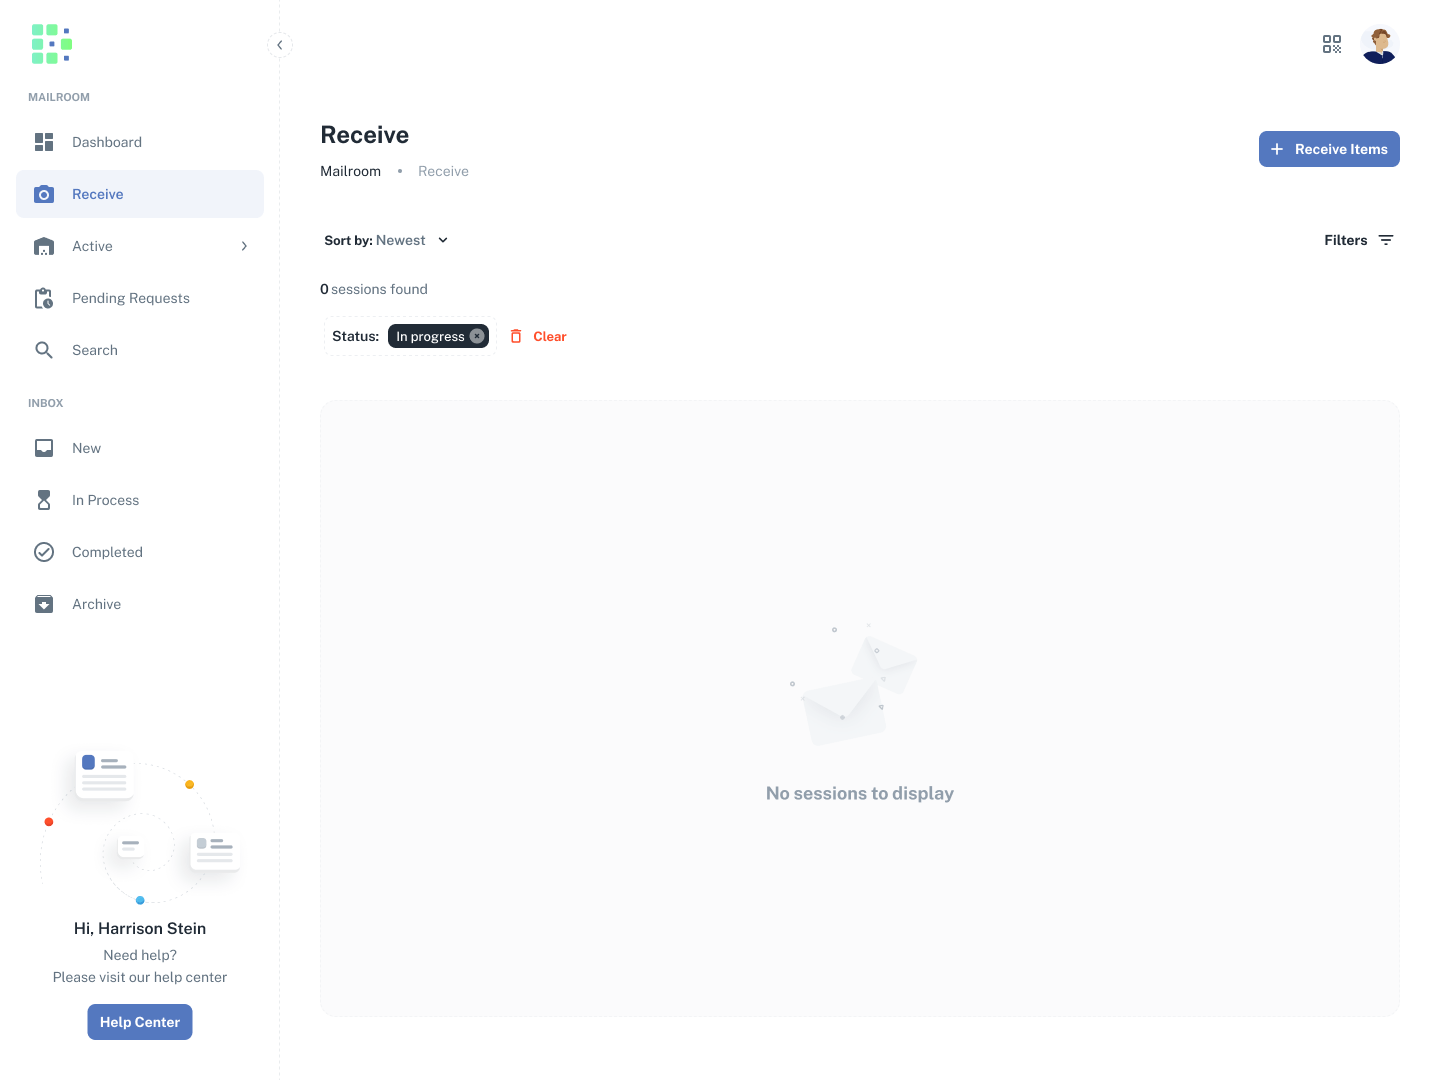
Receive
The Receive page is where you’ll go to receive new items. Before you can receive any items, you will be asked to configure a few settings in a quick setup process. If you’re not prompted to do this, it means someone else in your company already completed this step.
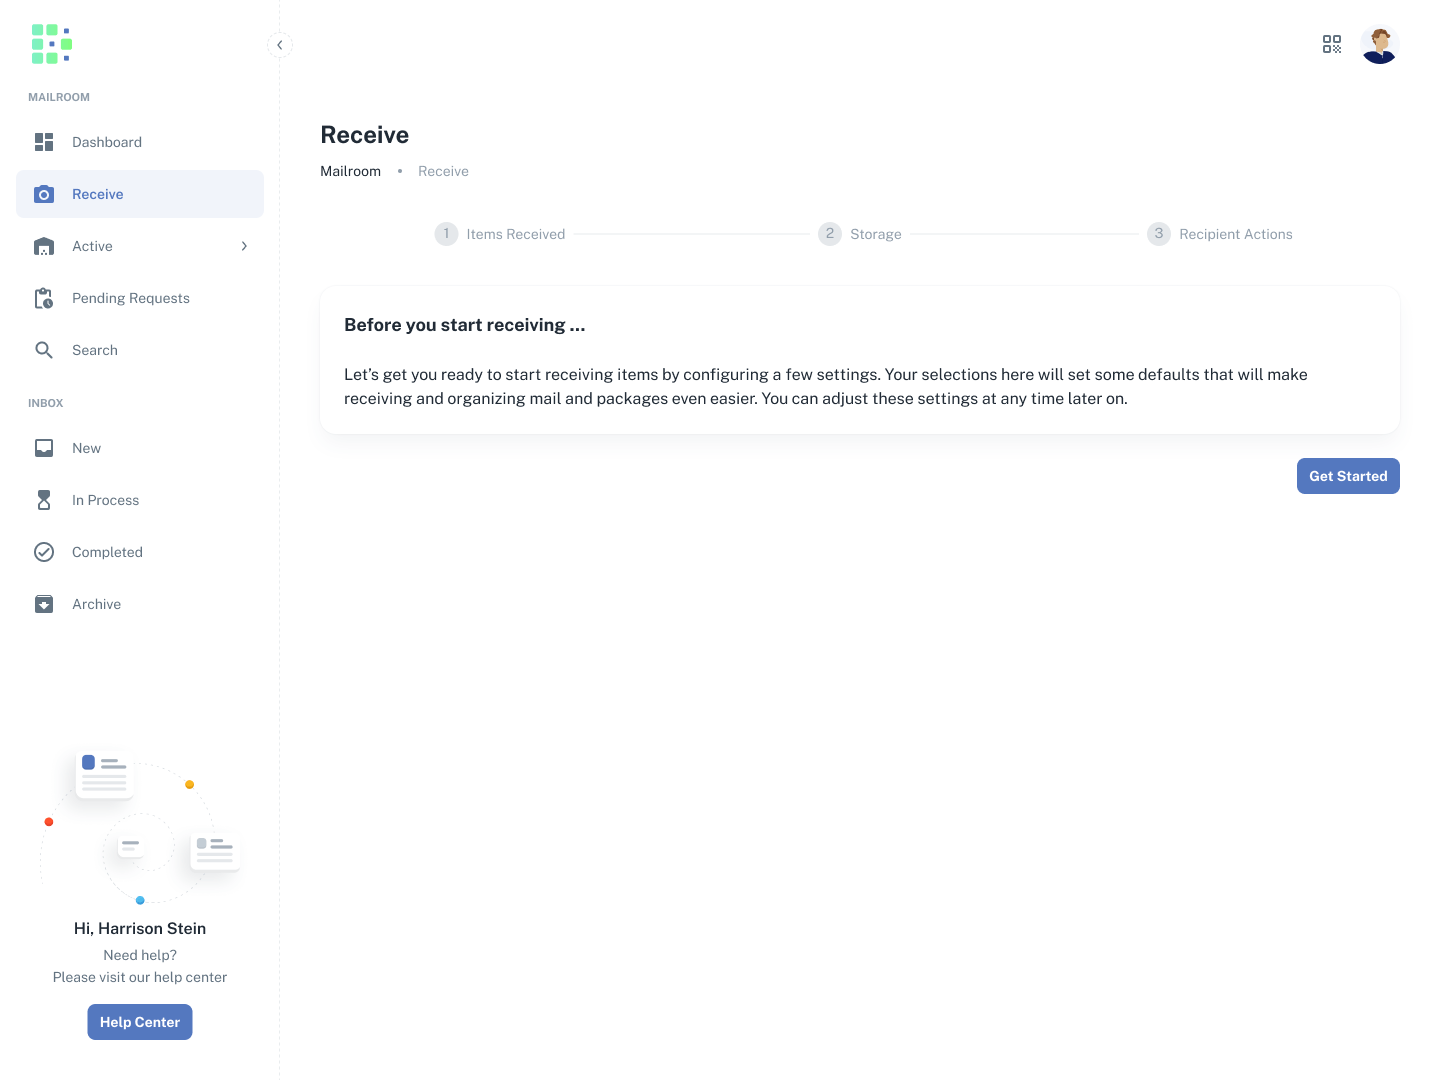
Once the configuration is complete, you’ll be ready to receive your first items. Keep reading for an overview of this process.
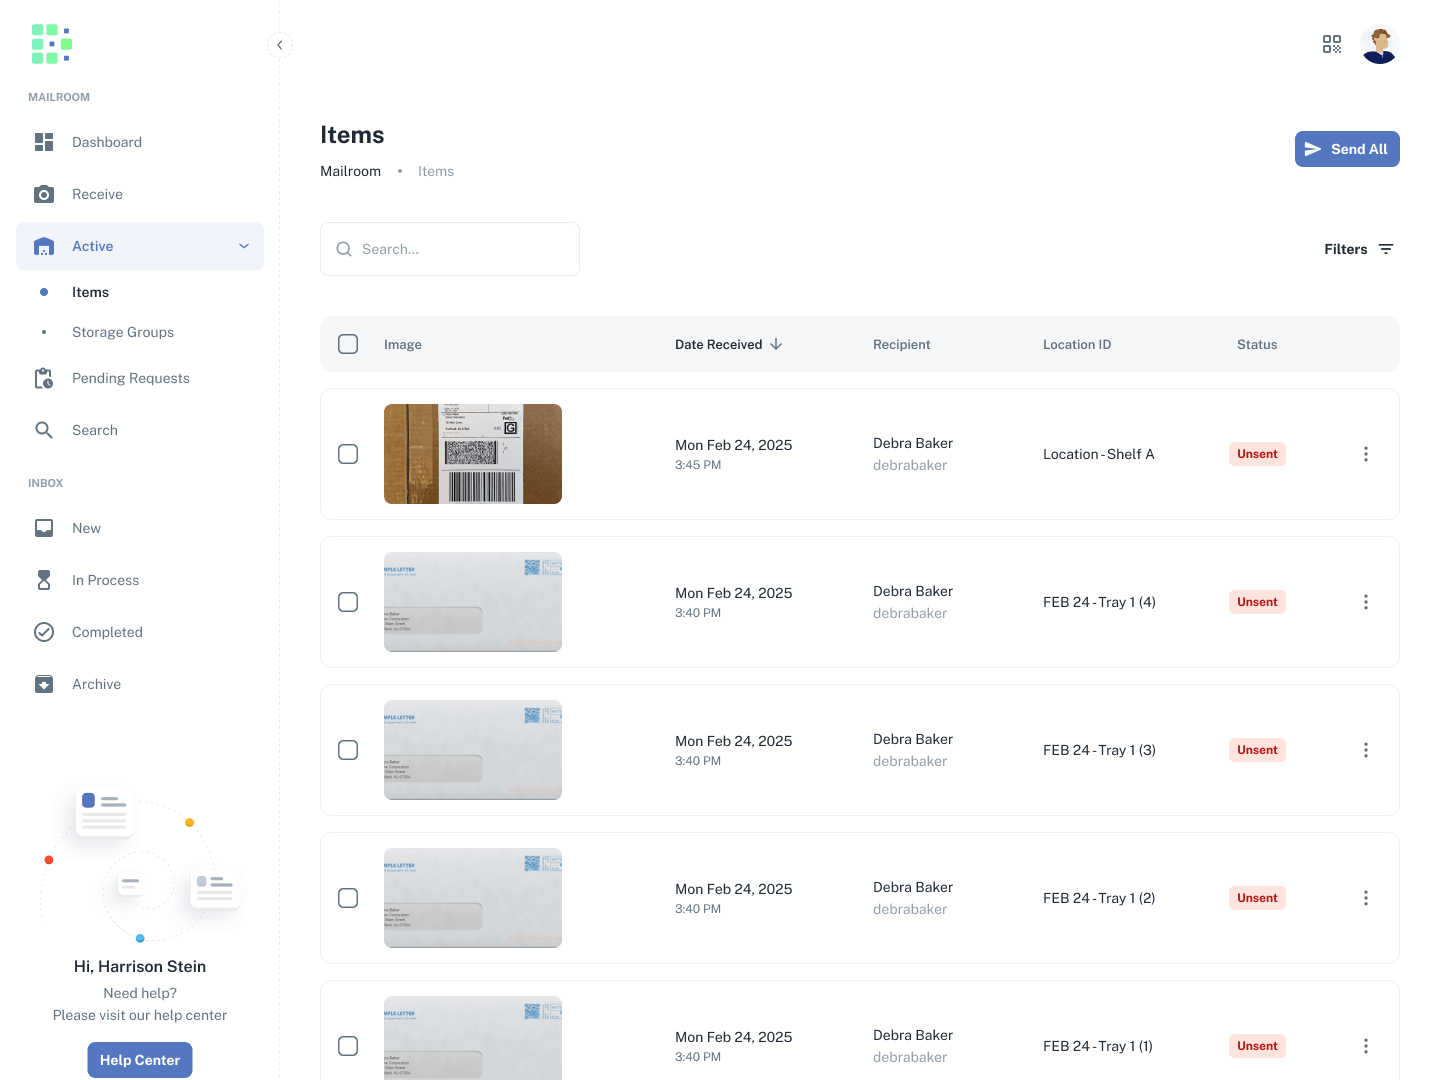
Active
When you expand Active, you’ll see there are actually two pages here. This is where you’ll find all the items that are active in your mailroom. It’s a virtual representation of your physical mailroom.
Items
On the Items page, you can see all of the individual items in your mailroom.
Storage Groups
On the Storage Groups page, you can see the storage groups your active items are a part of.
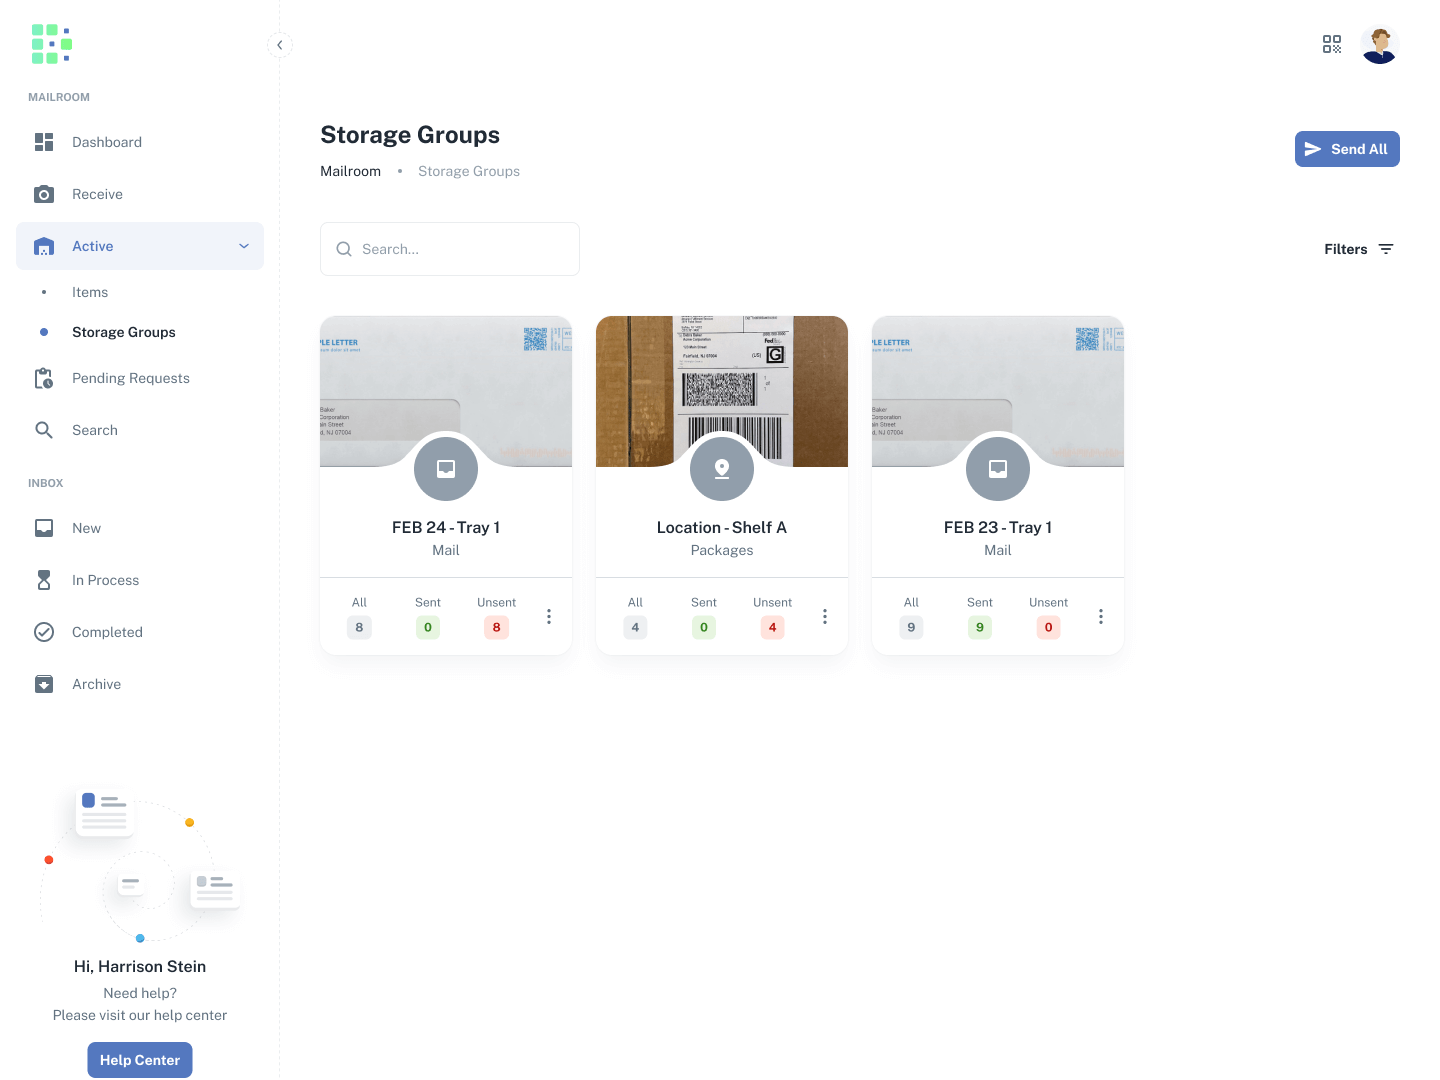
Once an item reaches its intended recipient, it has left your mailroom, so it leaves the Active pages as well.
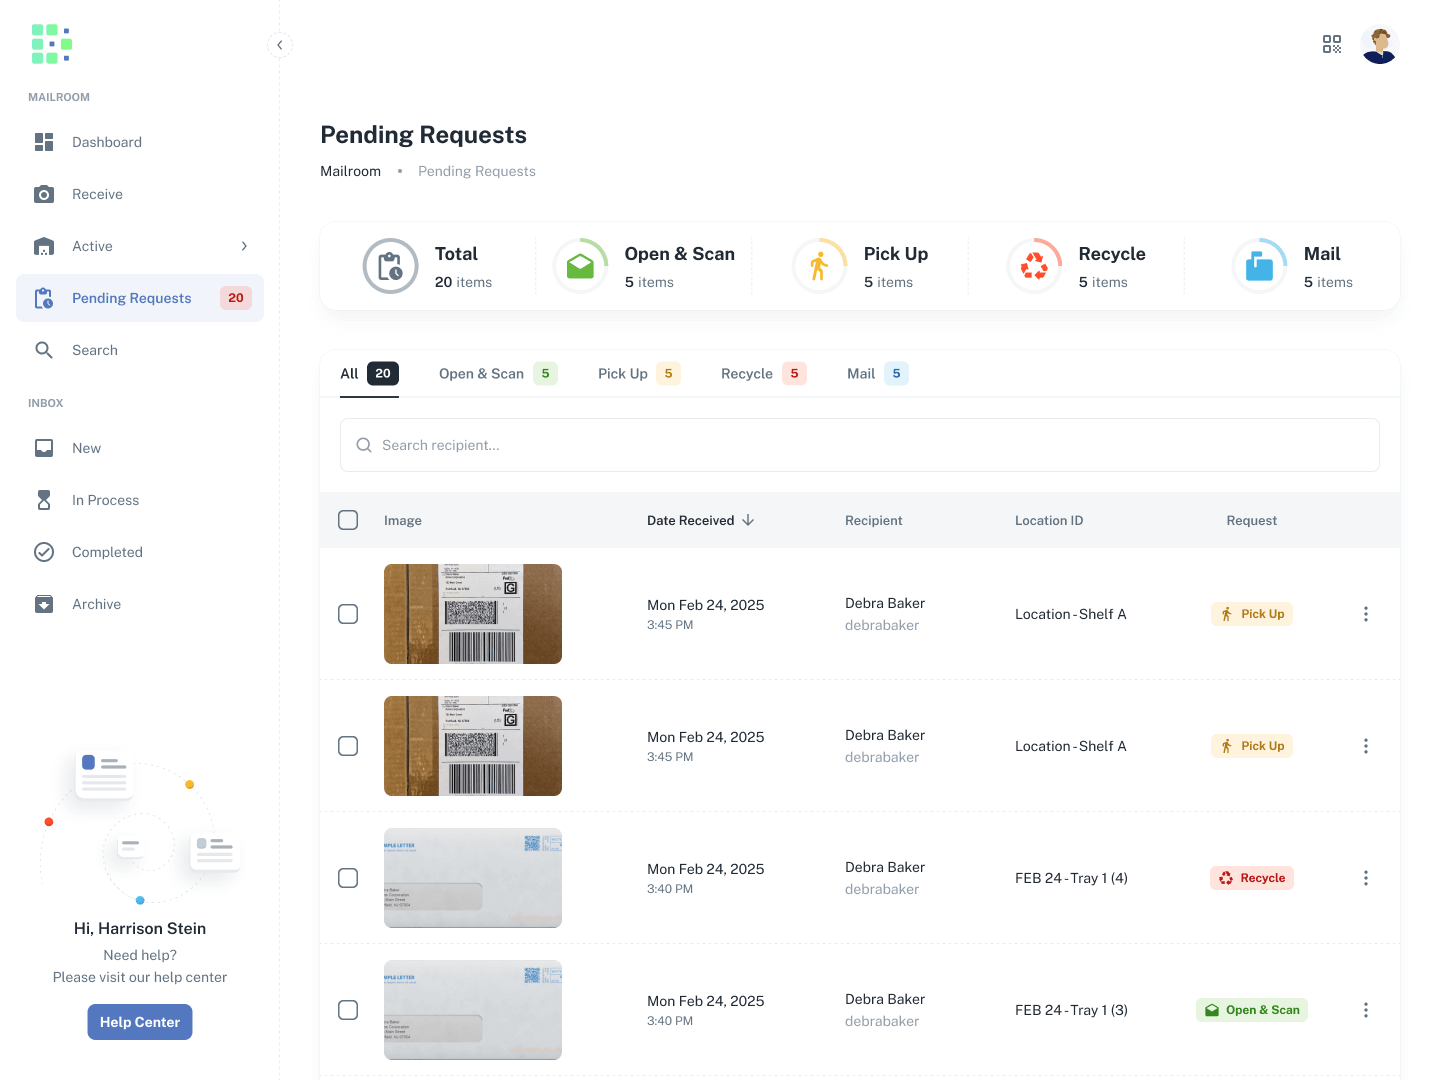
Pending Requests
The Pending Requests page is where you’ll respond to recipient requests. The widget at the top of the page provides a summary of all pending requests categorized by action. The actions displayed here match the actions that are enabled for recipients. You can also filter the table by action by using the tabs above the search bar.
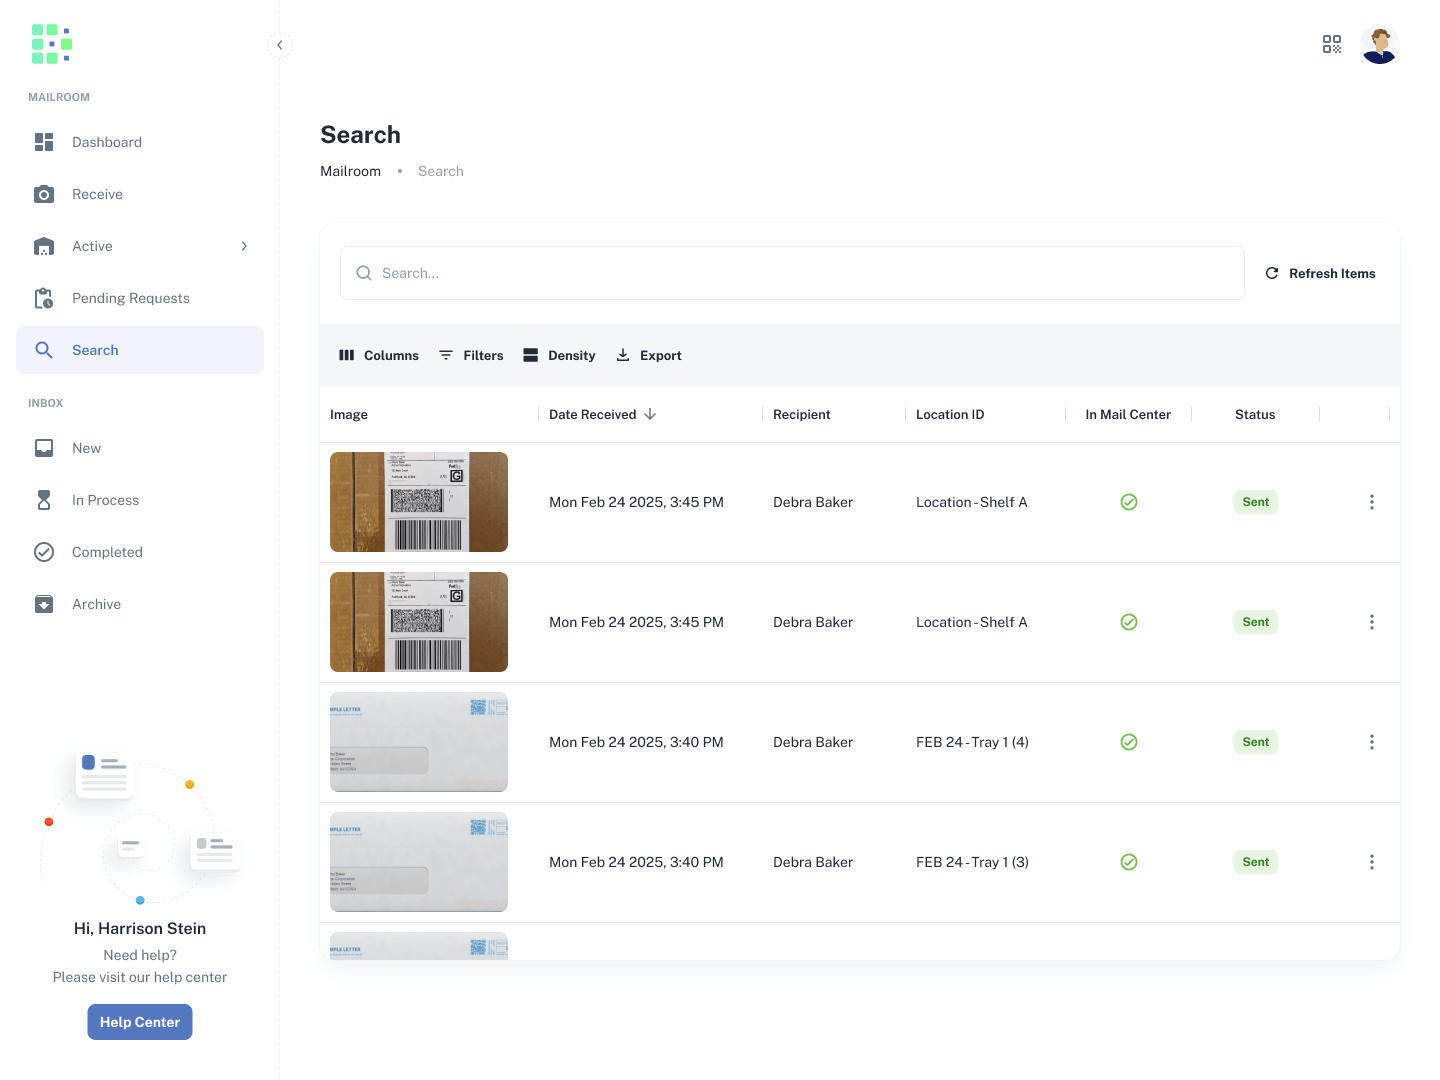
Search
Finally, the Search page allows you to easily find any item, no matter where it’s at in its lifecycle. So long as the item has been imaged, it will appear here.
The data grid gives you the flexibility to show and hide columns and filter the data however you want.
Receiving items
To start receiving new items …
- Under the Mailroom section in the left menu, click Receive.
- Click Receive Items in the top right.
1. Choose receiving options
Before you start capturing, you’ll need to choose what type of items you’re going to receive and how you’re going to receive them. You can find a brief explanation of each option below.
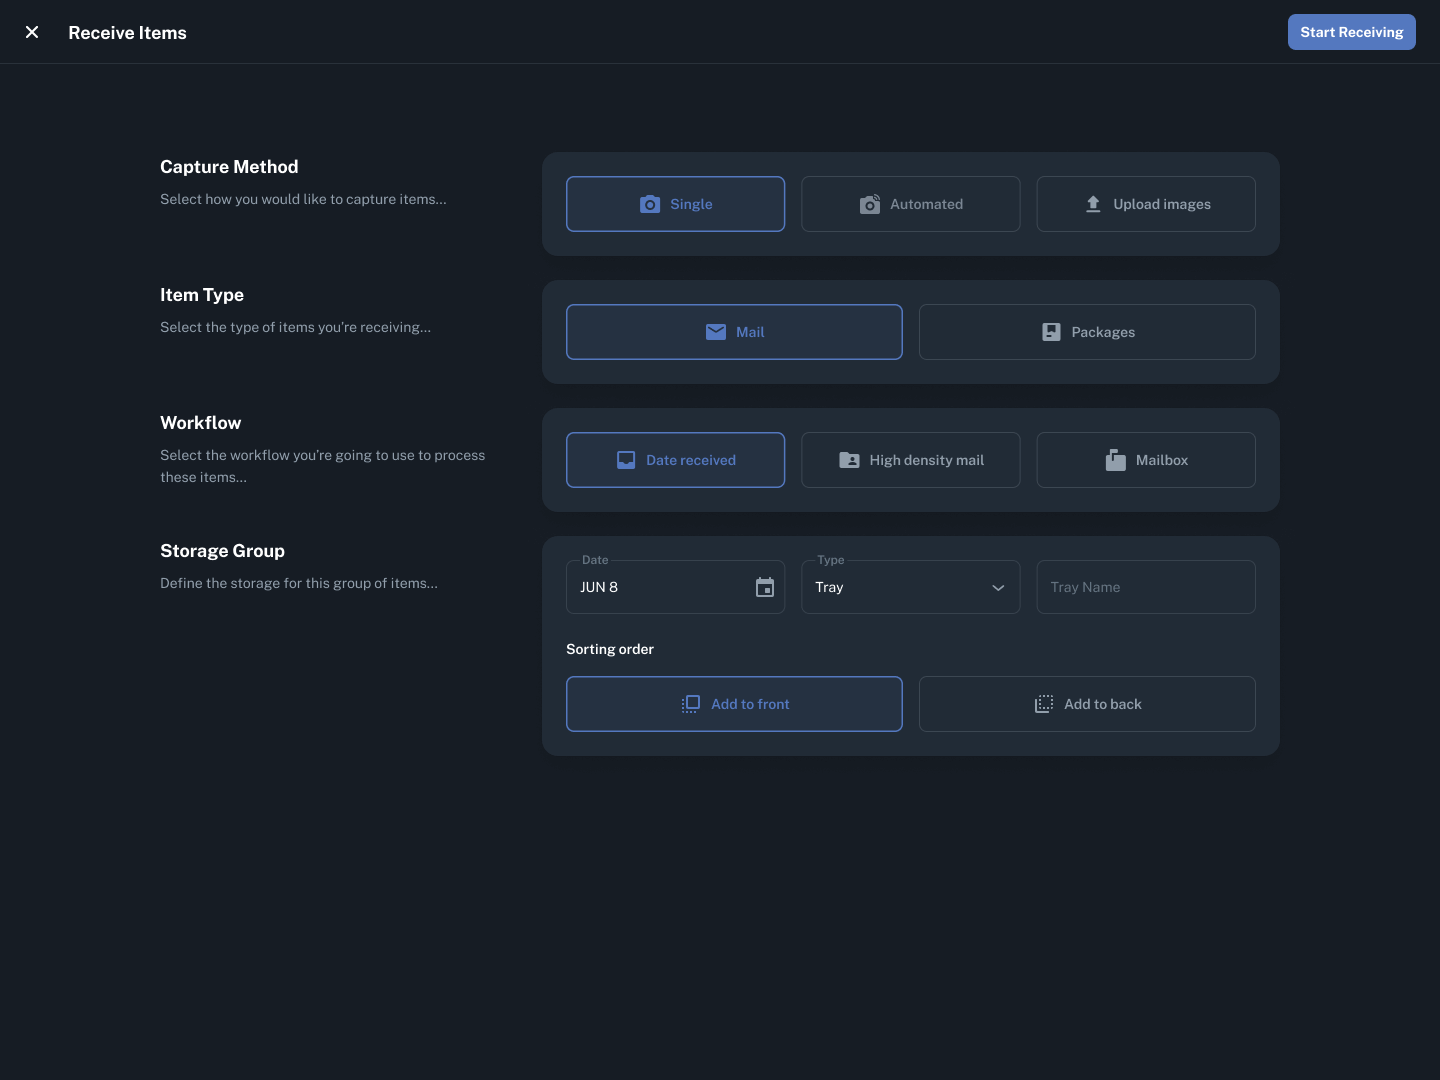
Capture Method
First, select how you would like to capture items. Single allows you to capture one image at a time, while Upload Images allows you to upload a whole batch of images you’ve already taken, all at once. The Automated option is coming soon!
Item Type
Next, select the type of items you’re receiving—mail or packages.
Workflow
Depending on the item type you’ve selected, different workflow options will appear. However, you shouldn’t have to adjust this selection often, as the default selection will be the one that was configured during the initial setup of the Receive page.
You can find an in-depth explanation of each of the workflows here.
Storage Group
Depending on the workflow you’ve selected, the Storage Group section may or may not appear. If applicable, you can configure a few options for the storage group you are receiving into.
For example, if the Date Received workflow is selected, you can adjust the date if needed, select what type of container is being used for the items, and give that specific container a name. Giving the container a name is helpful when distinguishing between multiple containers of the same type from the same day.
You’ll also need to select a sorting order for the Date Received workflow. The sorting order determines how you are going to place items into your container as you receive them. This is important because it will change the way Received Digital sequences the items to establish their Location IDs.
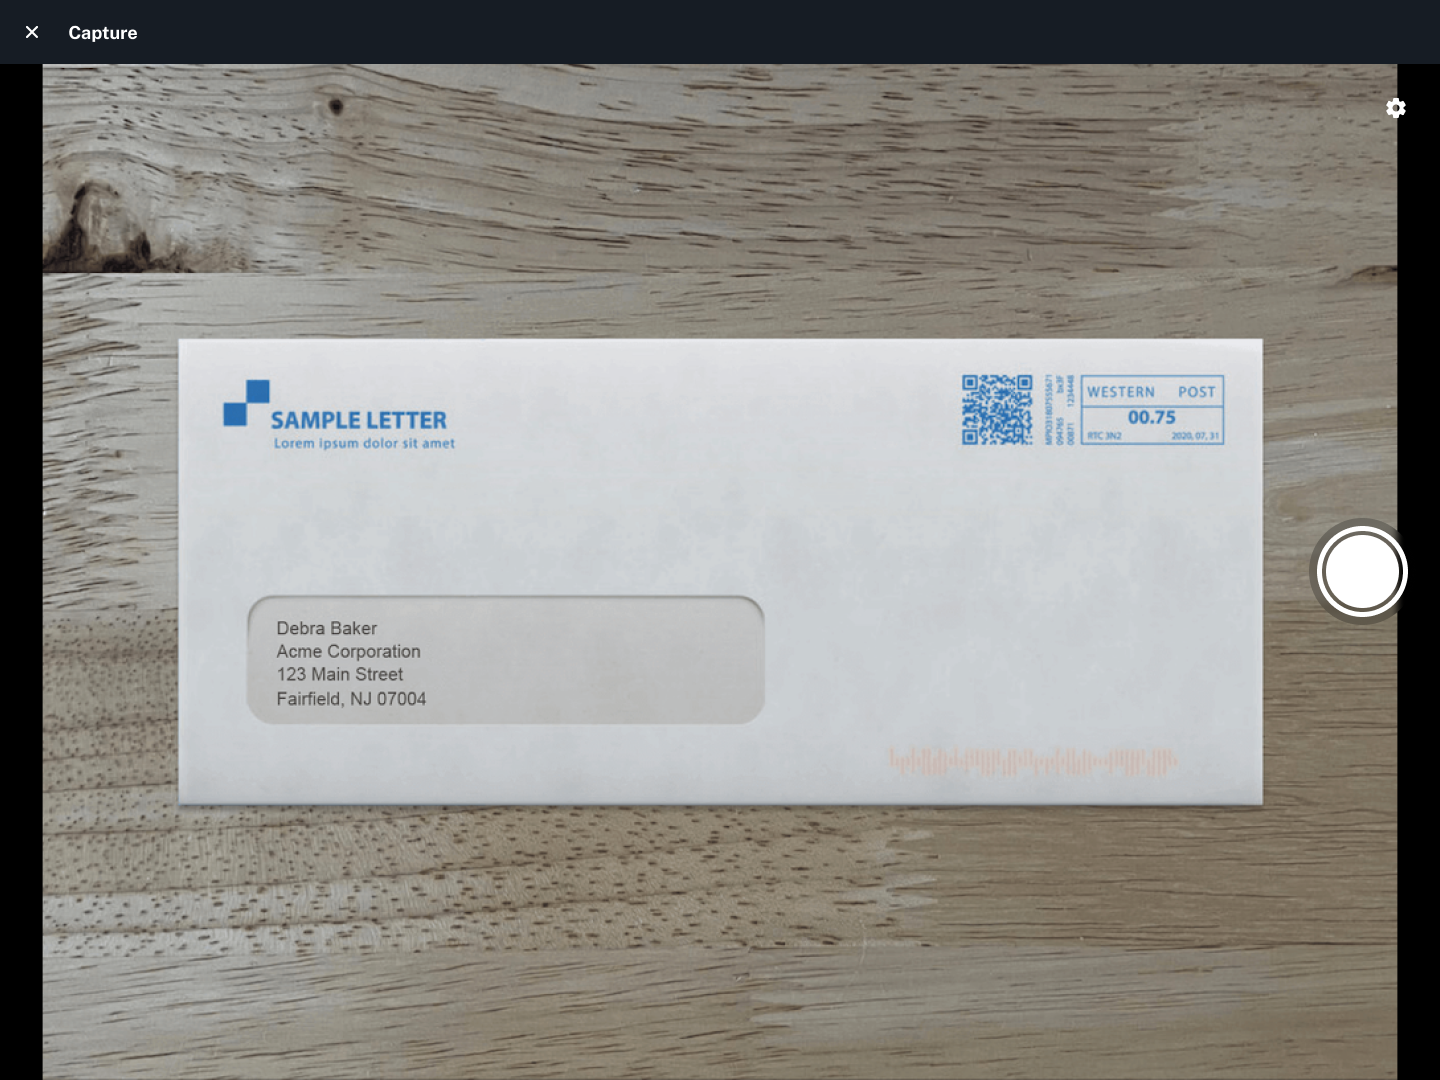
2. Capture images
Once you’ve made your selections, click Start Receiving. If you selected Single as your capture method, you’ll be brought into the full-screen camera. To change the camera being used, click the gear icon in the top right.
For each item you have, you’ll go through three steps (indicated by the title in the header).
Capture
To capture an image, simply point your camera at the item and click the shutter button.
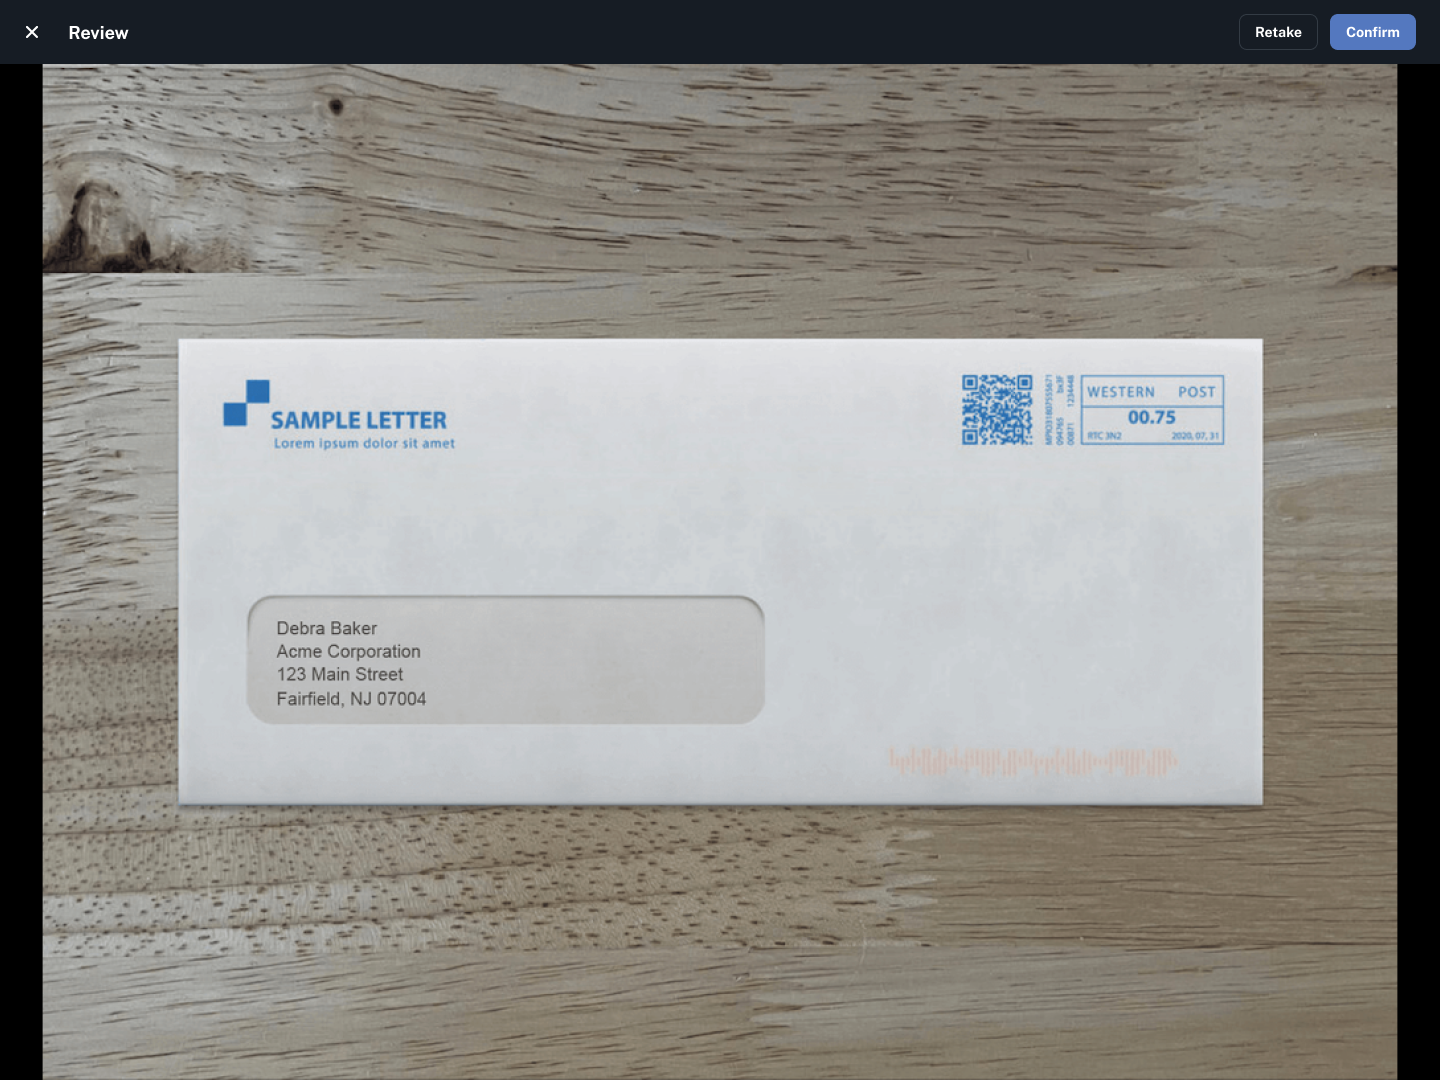
Review
After an image is taken, you’ll be asked to review that image and confirm you are satisfied with it before proceeding.
Edit
Once you’ve confirmed you’re happy with the image, you’ll be brought to the Edit step.

The icons at the top right of the screen represent different actions you can take here. From left to right, you can assign the item, edit its location, add a comment, or crop/rotate the image.
When you first get to this step, you’ll notice a progress indicator spinning around the assign icon. This indicates that Auto-Assign is in progress. Received Digital uses a combination of OCR and machine learning technology to recognize the recipient name on the envelope or label and assign it to the right person. When Auto-Assign has finished, the icon will change color depending on the result. Green means the assignment was successful, yellow means it requires validation, and red means Auto-Assign could not assign the item.
You don’t need to wait for Auto-Assign to finish before moving on to capture the next item. Click Continue in the top right to proceed, and you’ll have a chance to review this item again when you’re done imaging items.
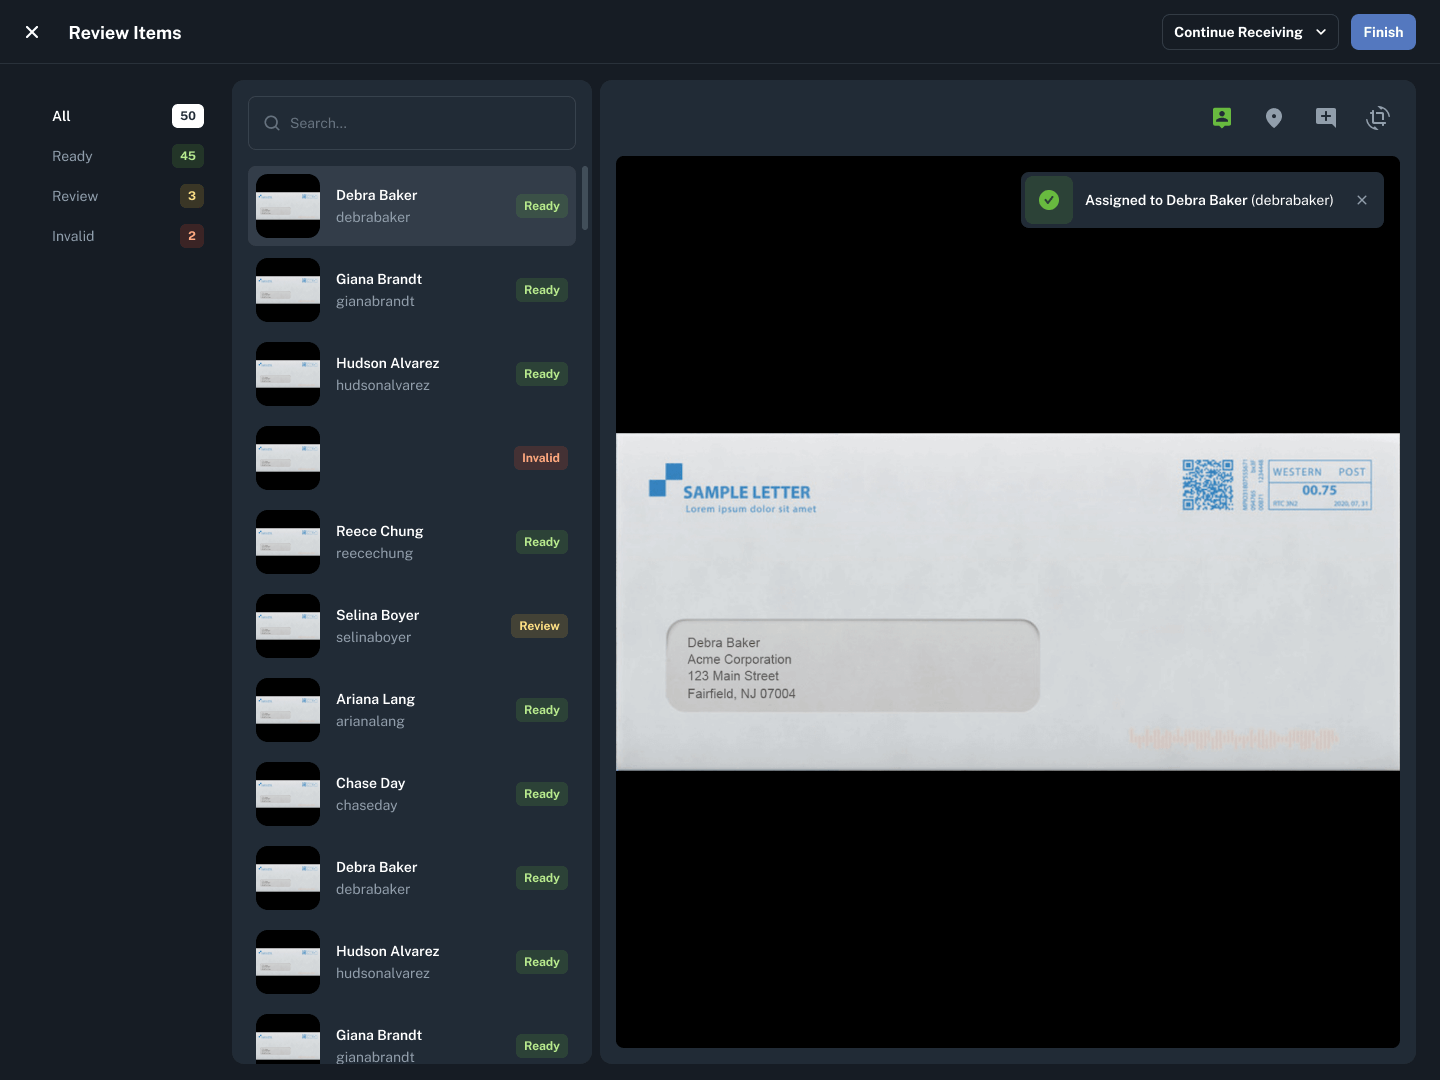
3. Review items
When you’re done imaging items, click Review Items in the top right. This final page gives you the opportunity to review all the items you’ve just captured. It categorizes items based on their status: Ready, Review, or Invalid. Once you’ve assigned all items, click Finish in the top right.
Sending items to recipients
Once you’re finished reviewing items, you’ll be brought to the Active Items page. At this point, all items will have a status of Unsent, meaning they have not been sent to recipients.
Once all items have been received, you are ready to send them to recipients. To send all unsent items at once, click the Send All button in the top right.
If for any reason you want to send an item or two individually, just click the three dots next to that item, and select Send. You can also click the checkboxes next to the items you’d like to send, then click the send icon in the table header.
Completing pending requests
Once a recipient actions an item, the request will appear on the Pending Requests page. There are a couple ways to complete a pending request.
- Click the three dots to the right of the item, then click the action name in the popover.
- Click the three dots to the right of the item, then click View Details. From the Item Details page, click the button with the action name.

Explore more topics in the Help Center
Those are the basics to get you started! However, there are many more features in Received Digital you can take advantage of as a mailroom operator. You can explore more topics related to the Mailroom role here.