Roles determine what people can see and do in Received Digital. Specifically, each role has it’s own section in the left menu. With the Admin role, you’ll have access to the Administration section where you can create and manage users and manage company-wide settings.
Getting to know the Administration section
There are four tabs under the Administration section. Here is a quick overview of what you can find under each tab.
Company
The Company page contains info and settings for your company in Received Digital. Within the Company page, there are four tabs:
Info
Under the Info tab, you will find your company’s subdomain and contact info. This information is used as your default billing address.
Notifications
Under the Notifications tab, you can find settings related to the notifications that get sent to recipients.
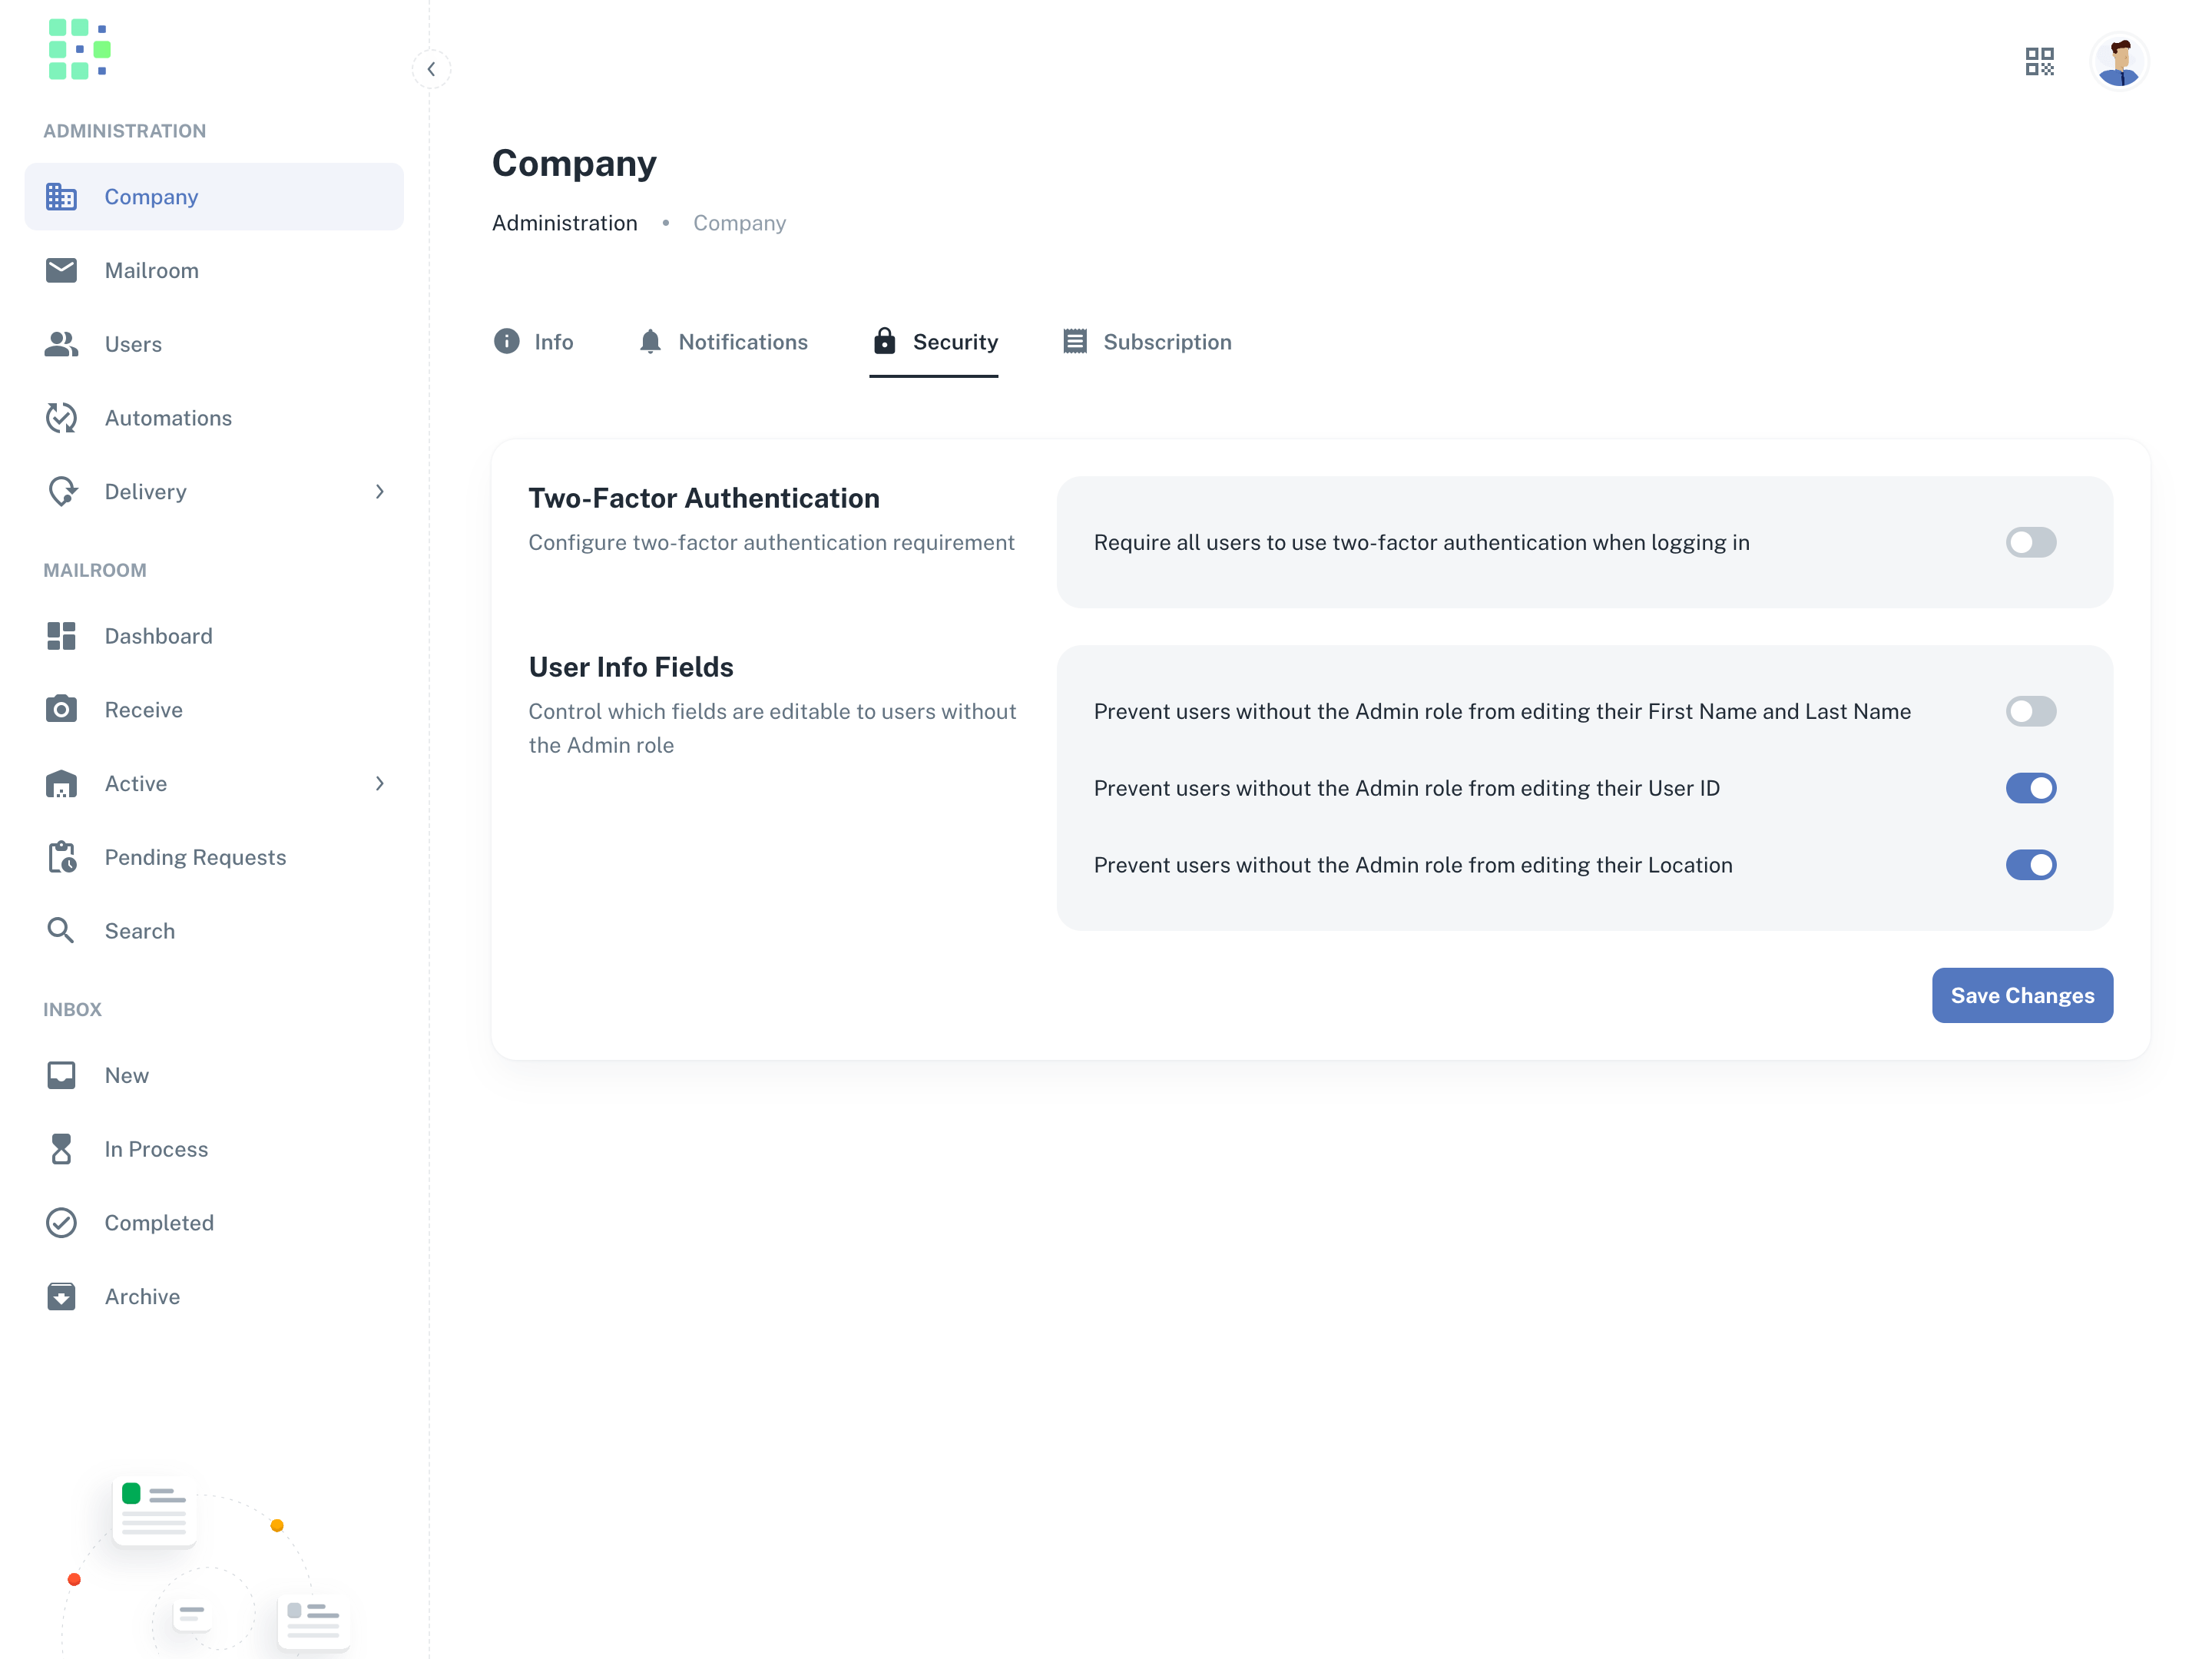
Security
Under the Security tab, you can find settings related to two-factor authentication and editable fields.
Mailroom
The Mailroom page contains info and settings for your mailroom. Within the Mailroom page, there are four tabs:
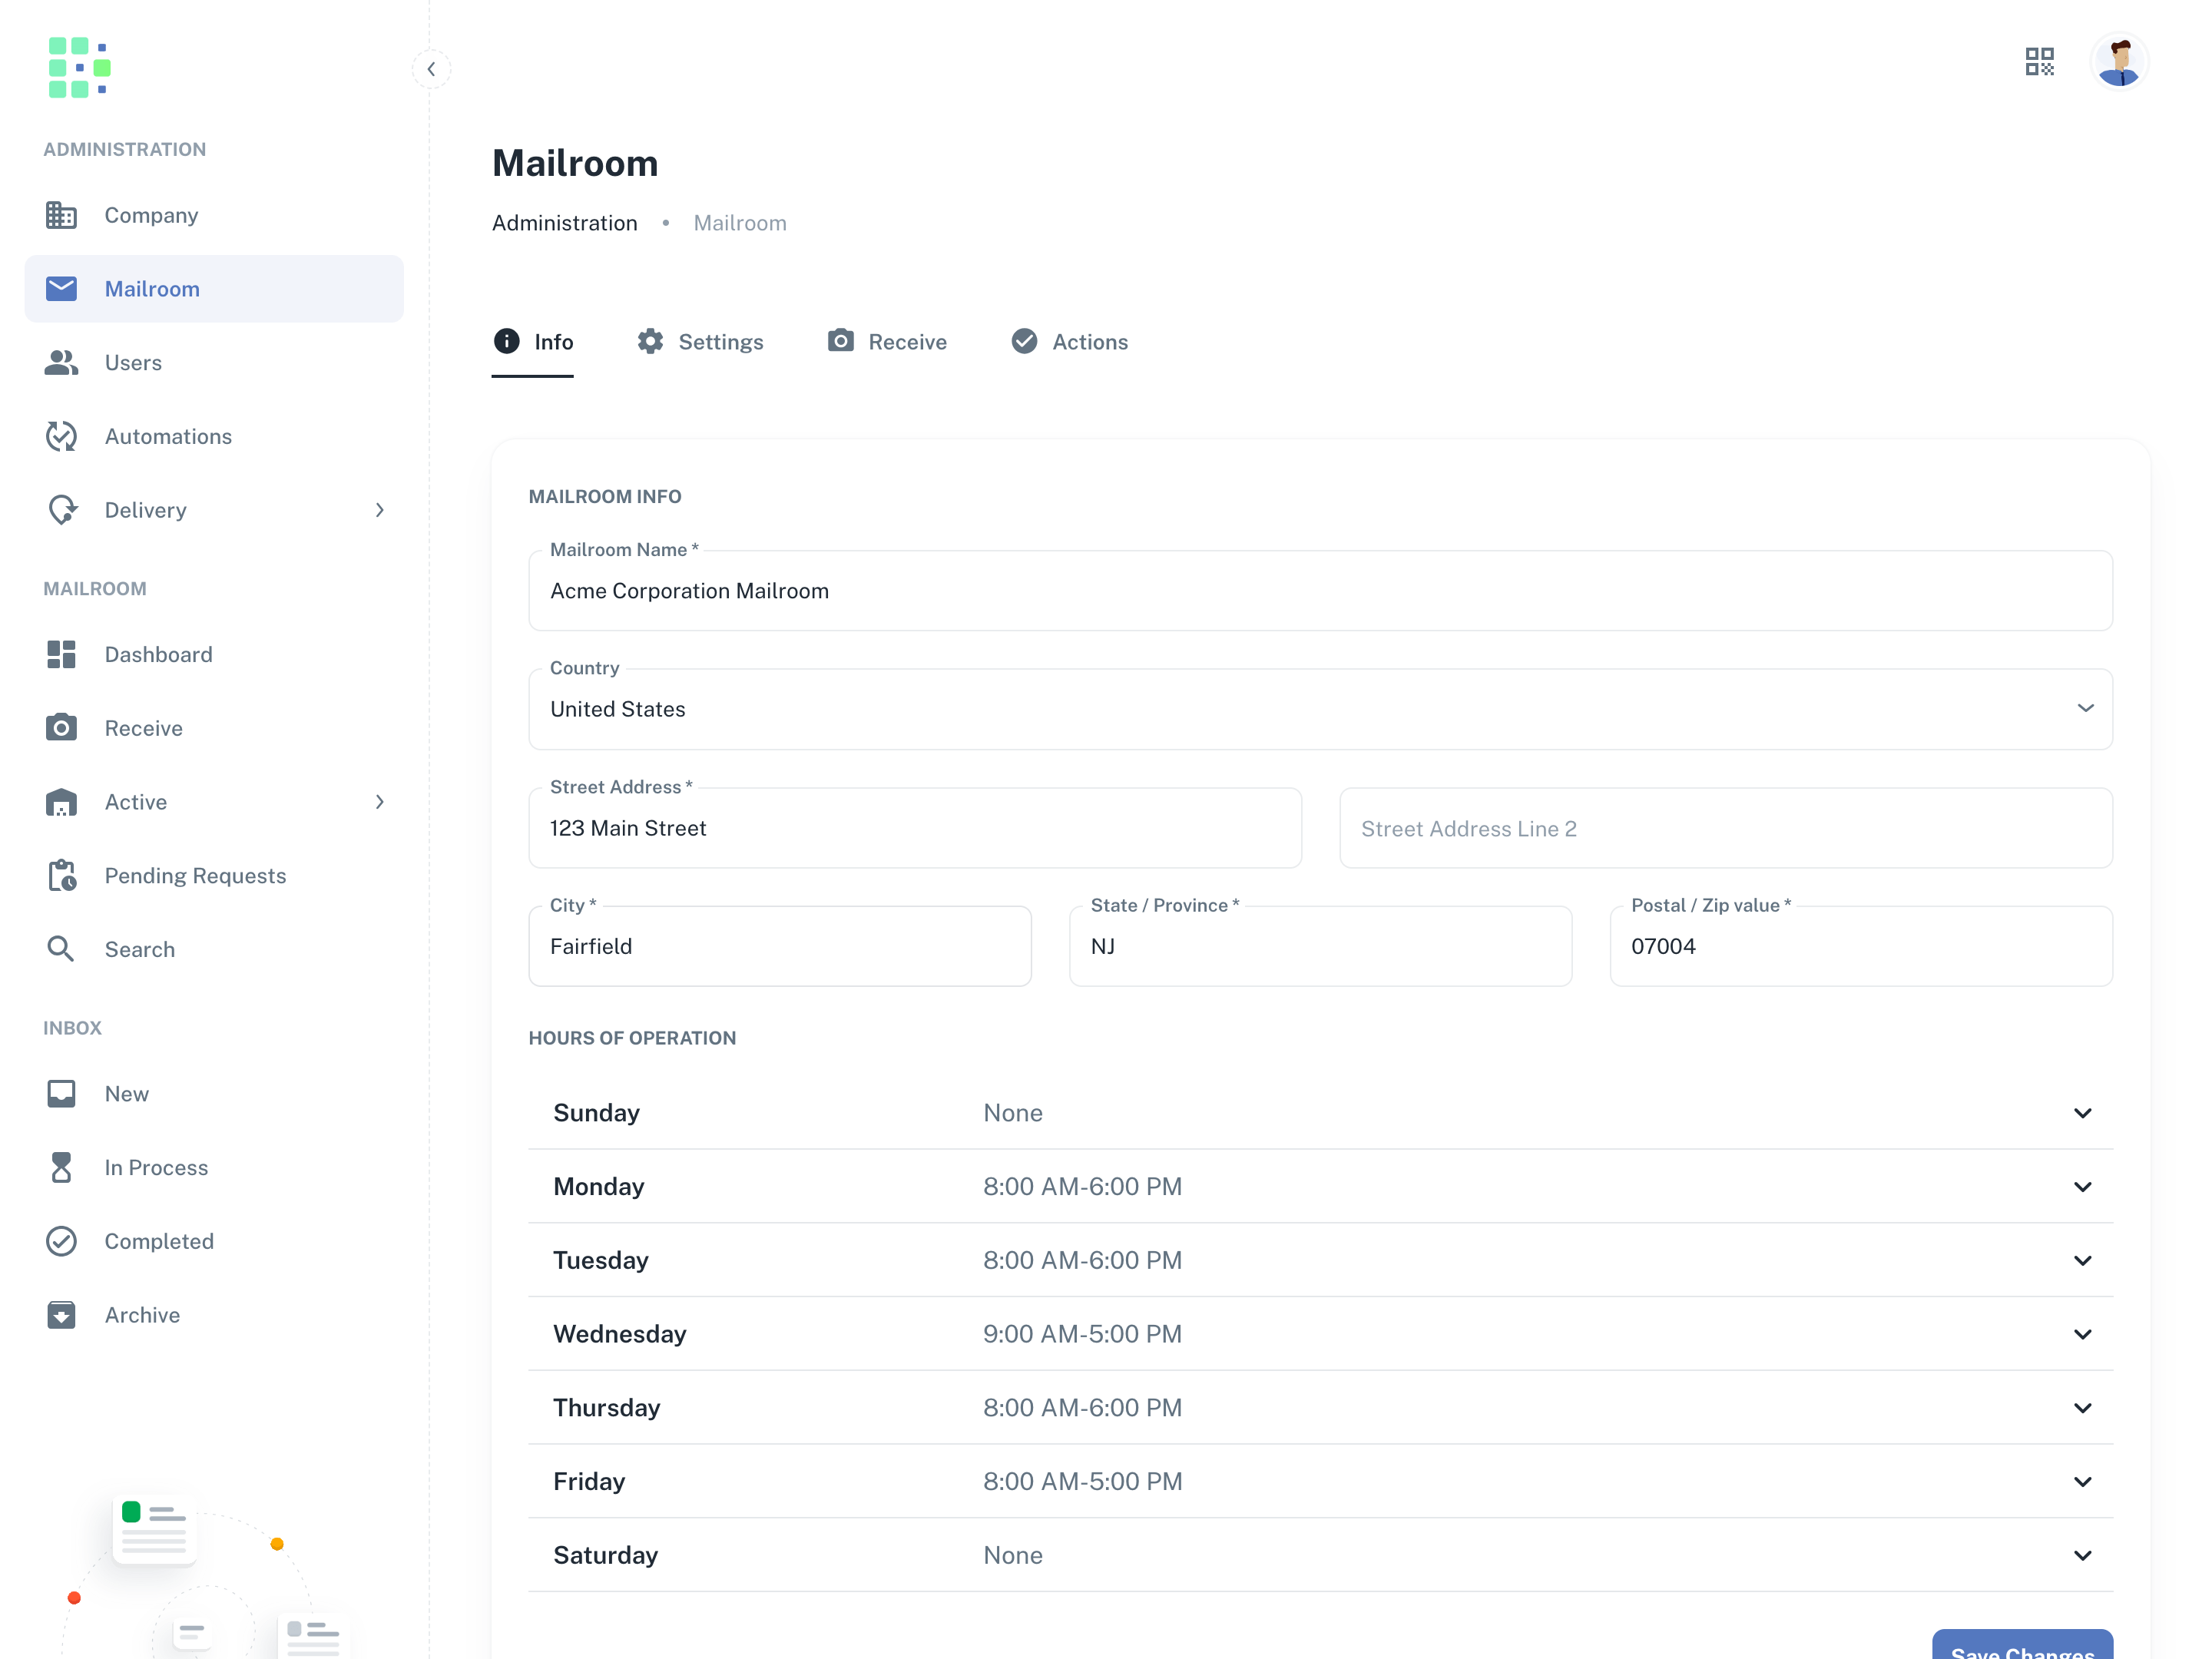
Info
The Info tab includes your mailroom name and address. Recipients will see this information on the item details page for each item they receive so they know where the item was received.
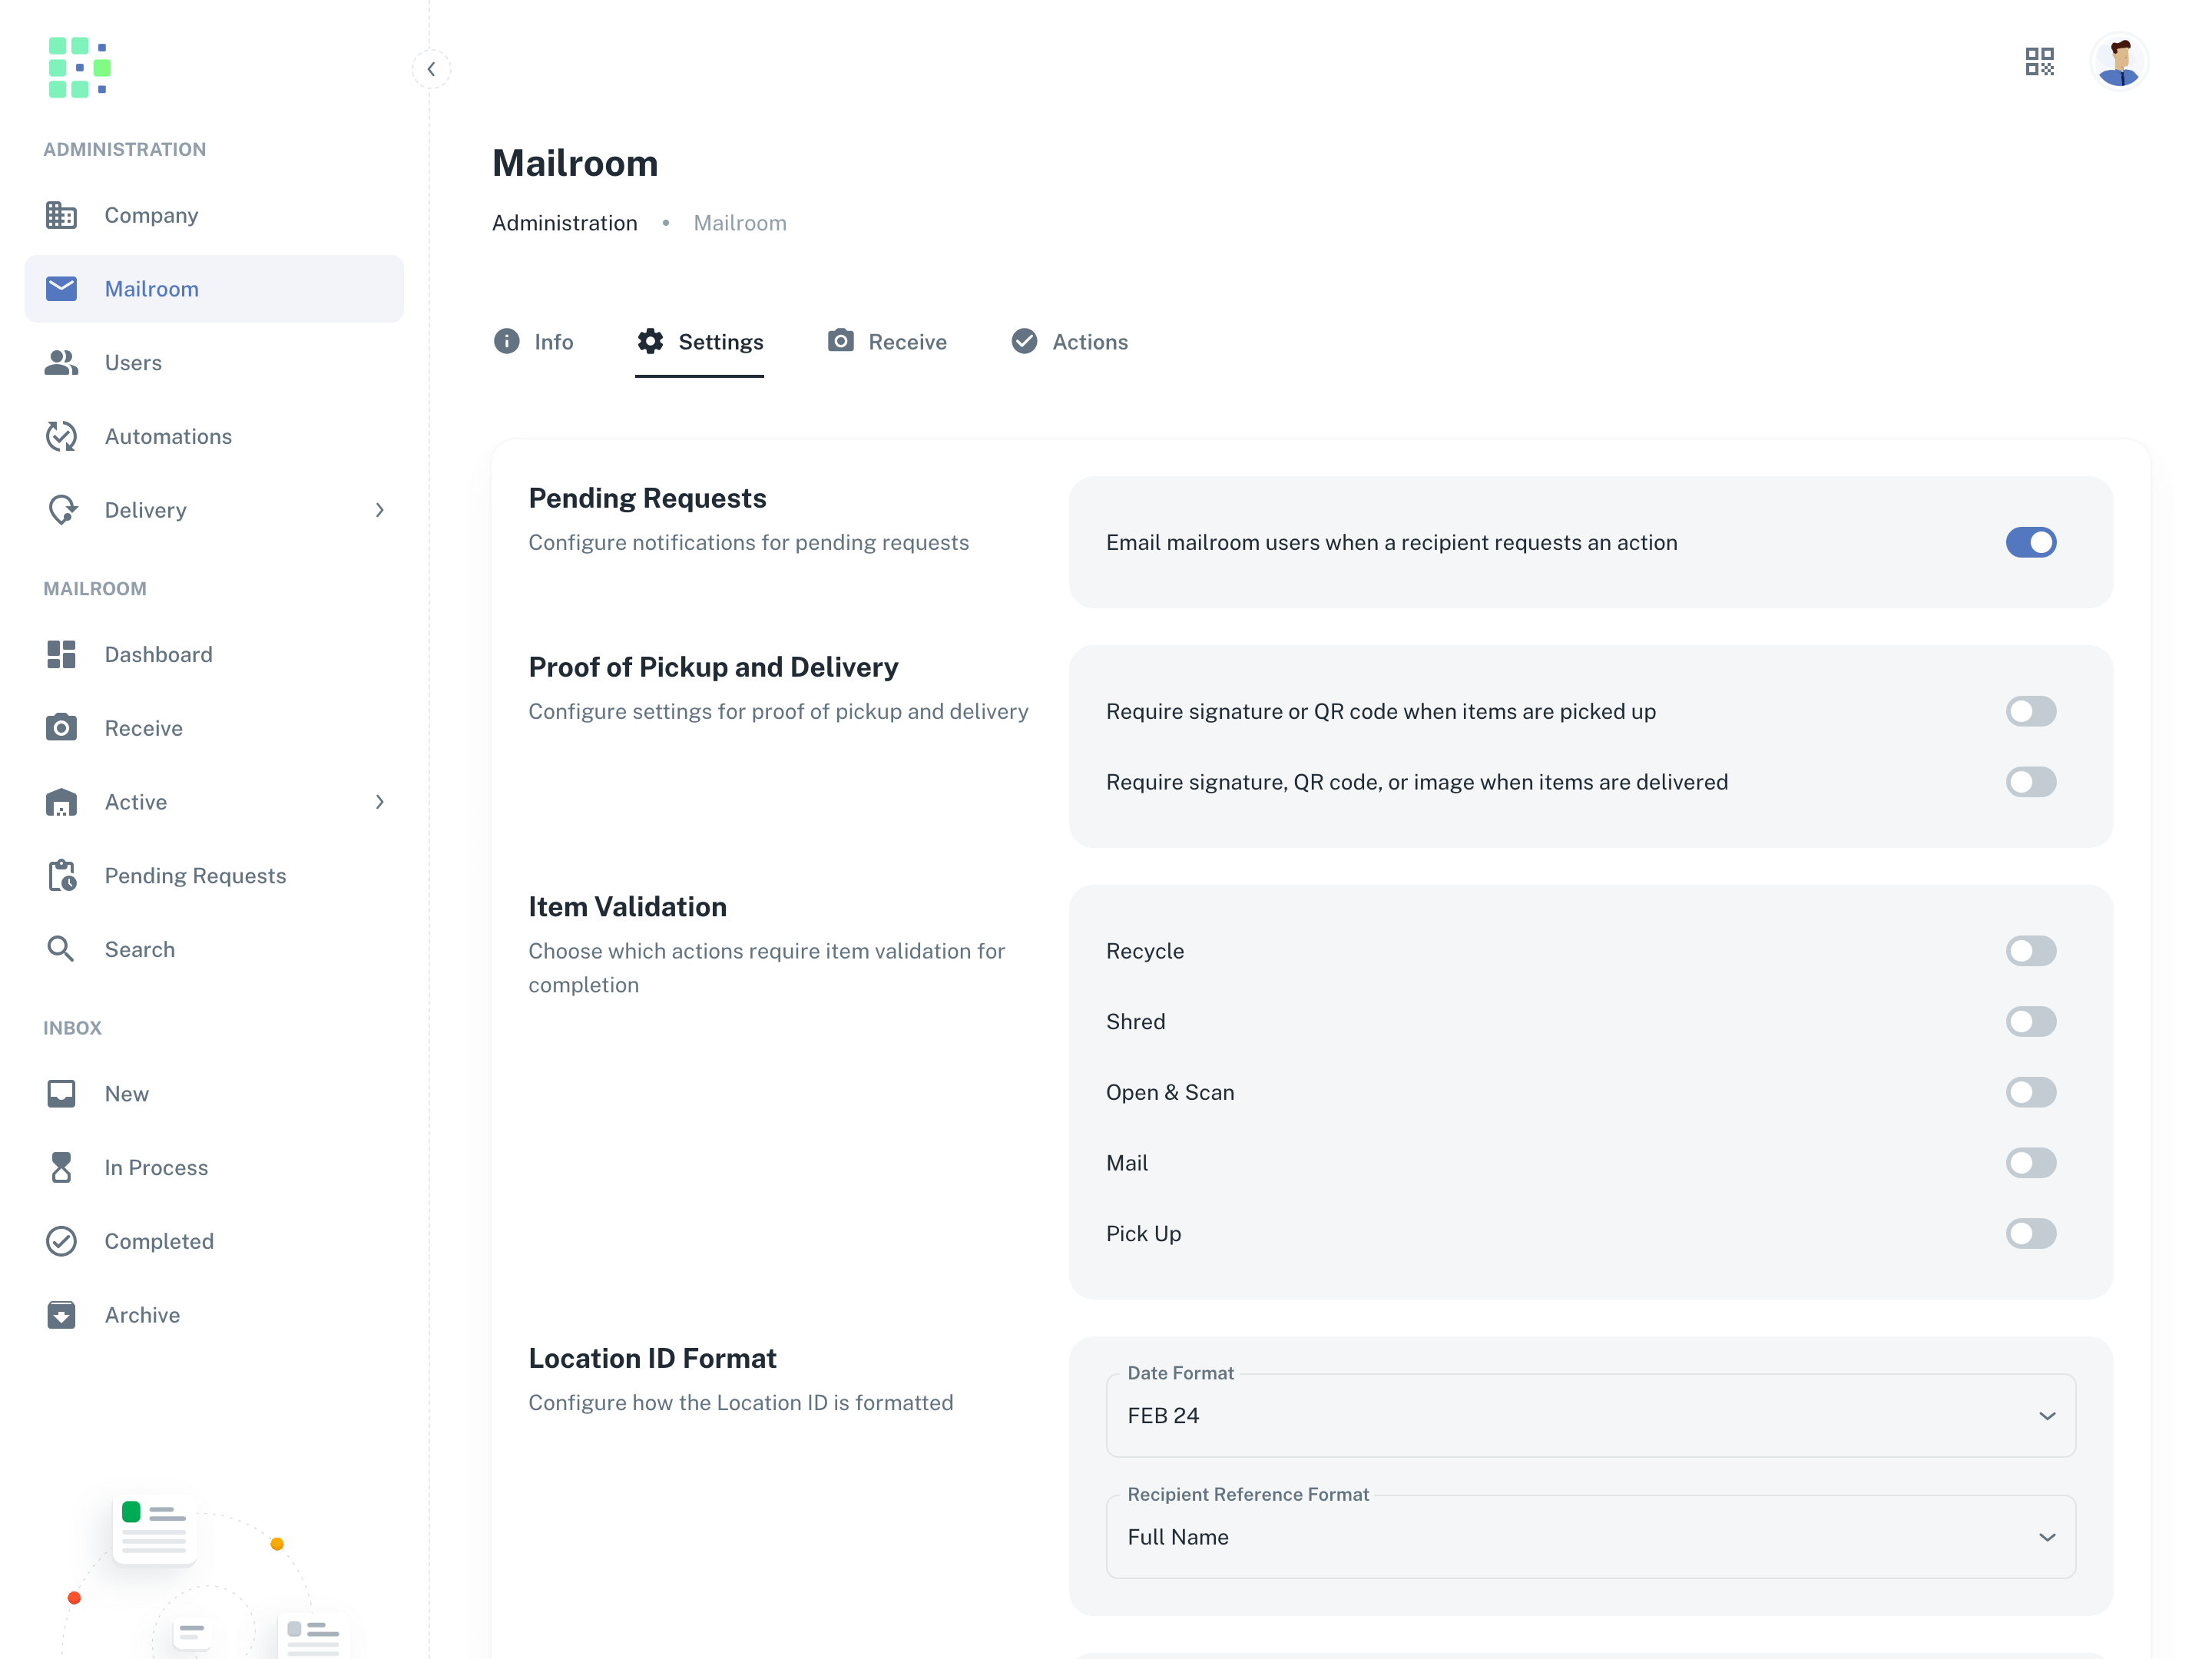
The Settings tab contains settings for various aspects of mailroom operations. Here, you can…
Control notifications for pending requests
Control proof of pickup and delivery requirement
Require item validation for various actions
Modify the Location ID format
Control image cropping settings
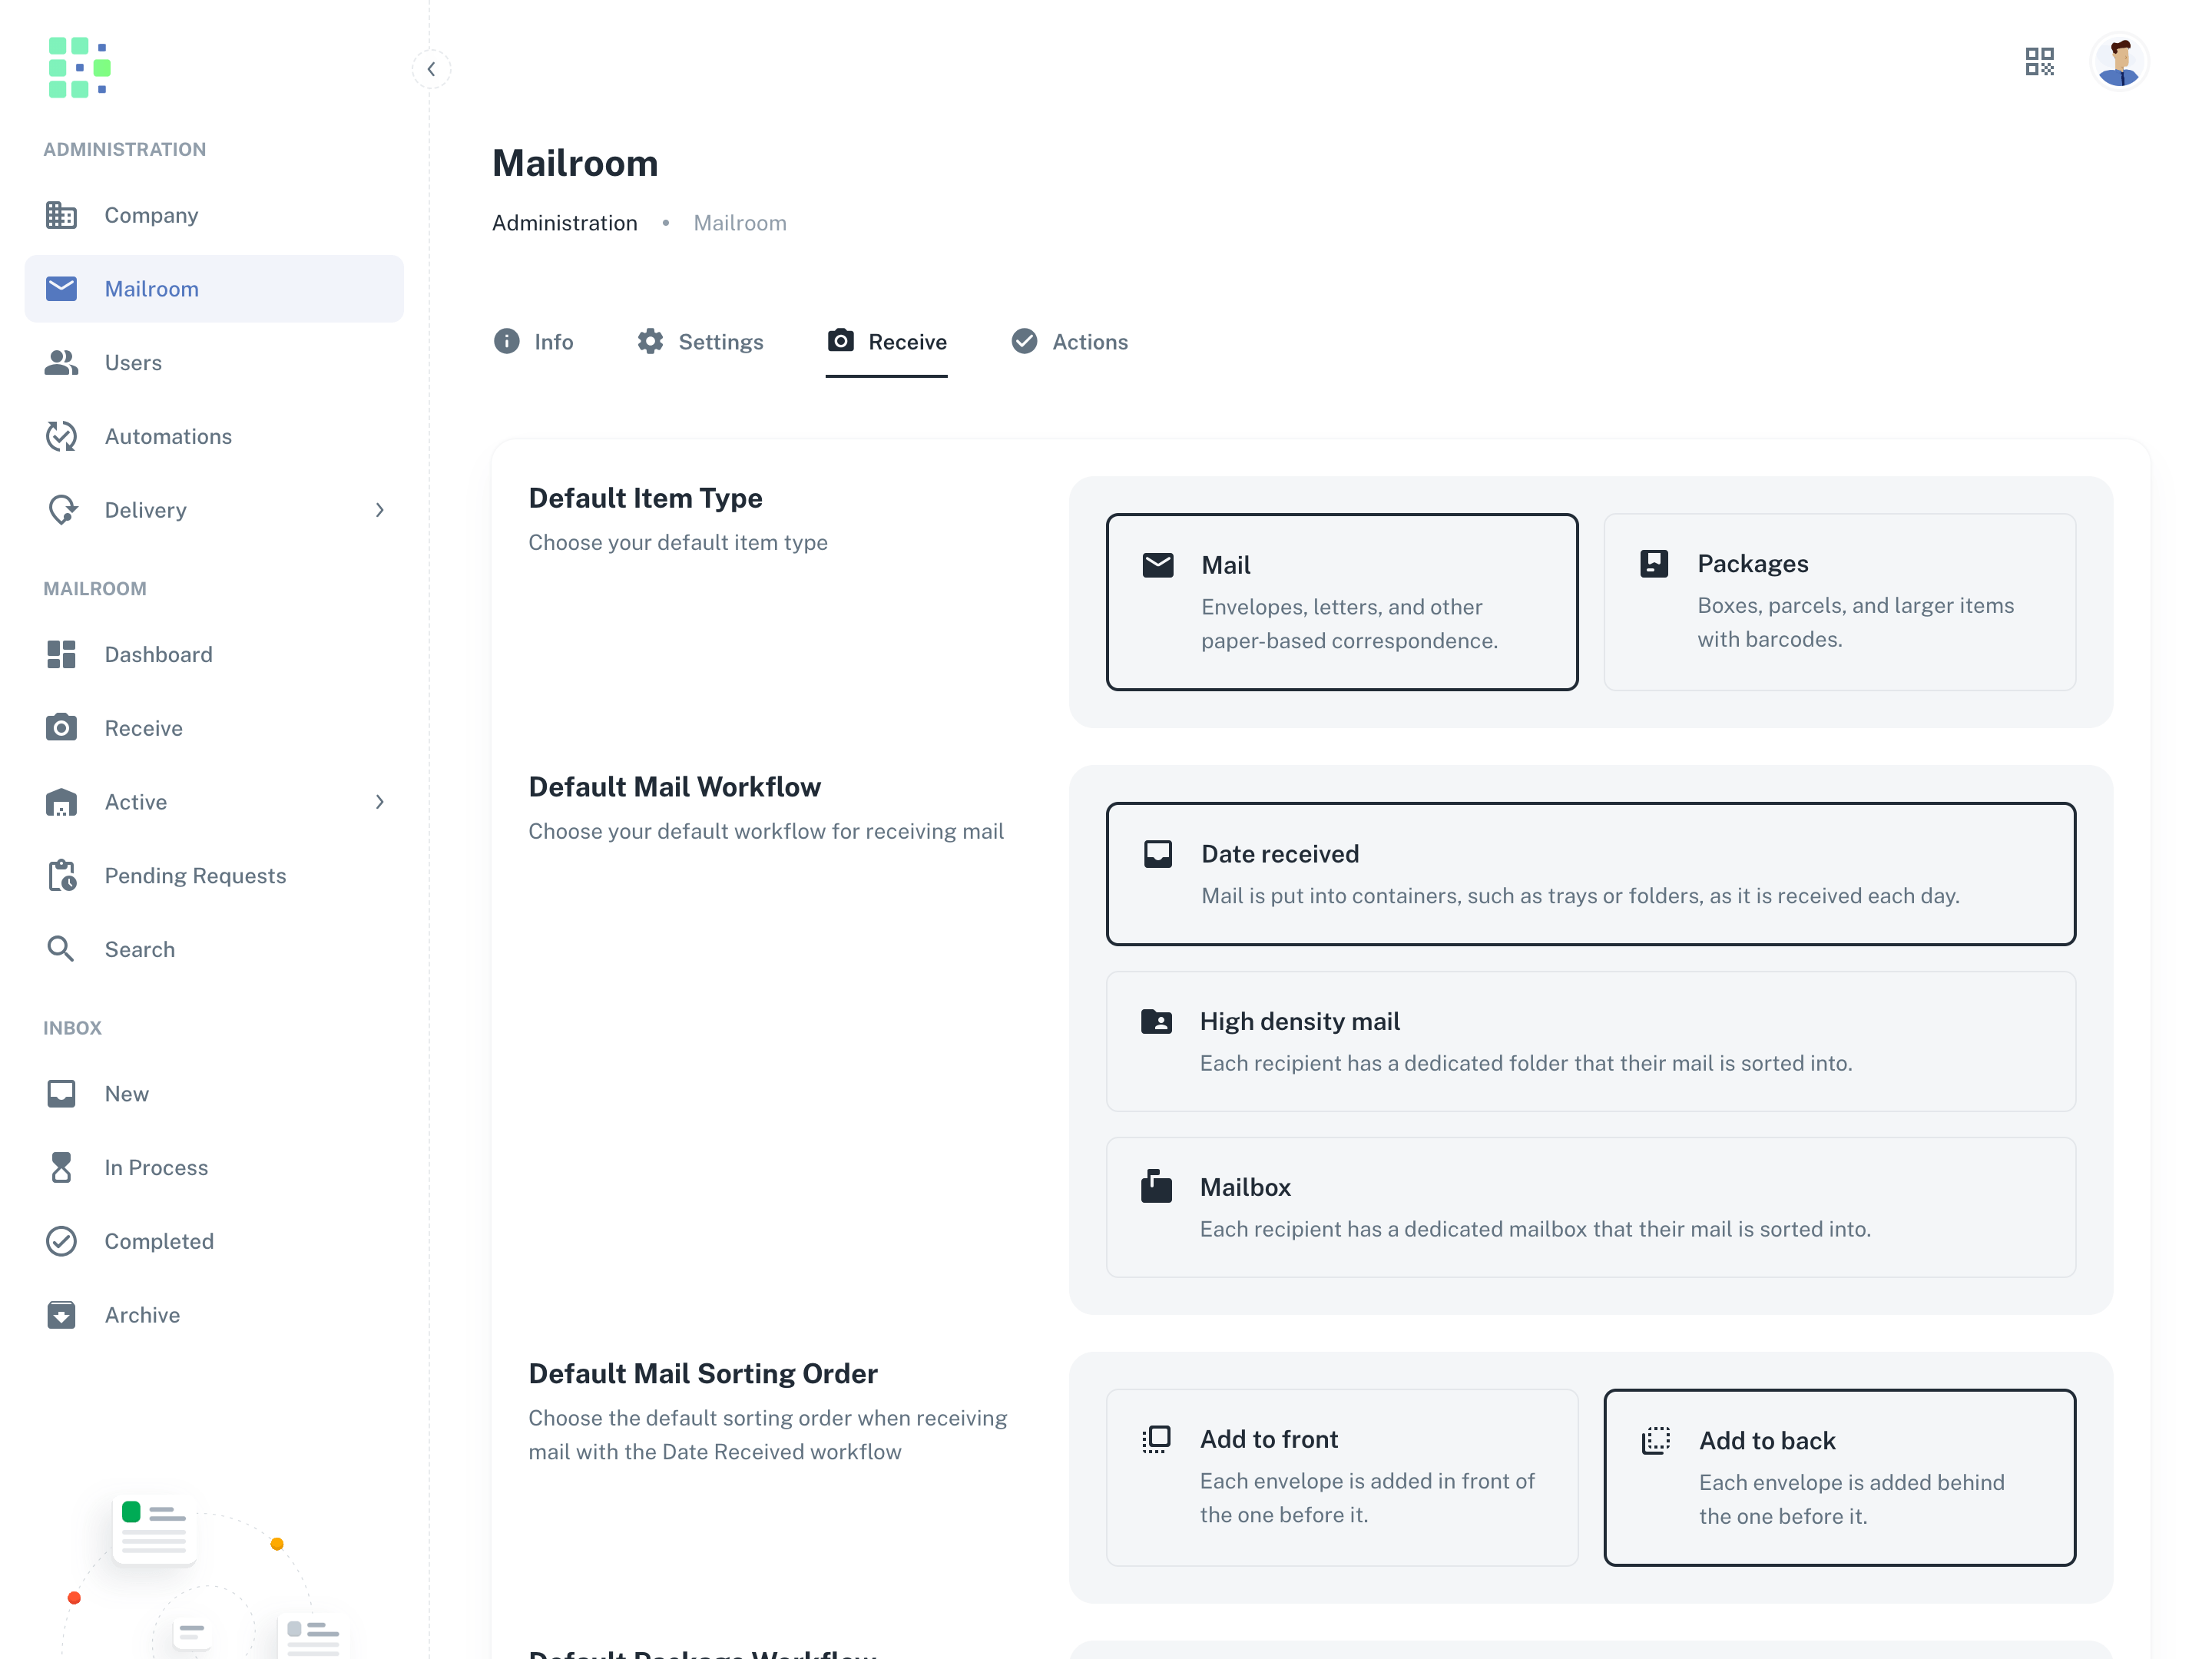
Receive
Under the Receive tab, you can adjust the defaults for various options for receiving mail. Mailroom operators can always adjust these selections on the fly as they’re receiving items, but setting defaults to match your organization’s workflow speeds up the process.
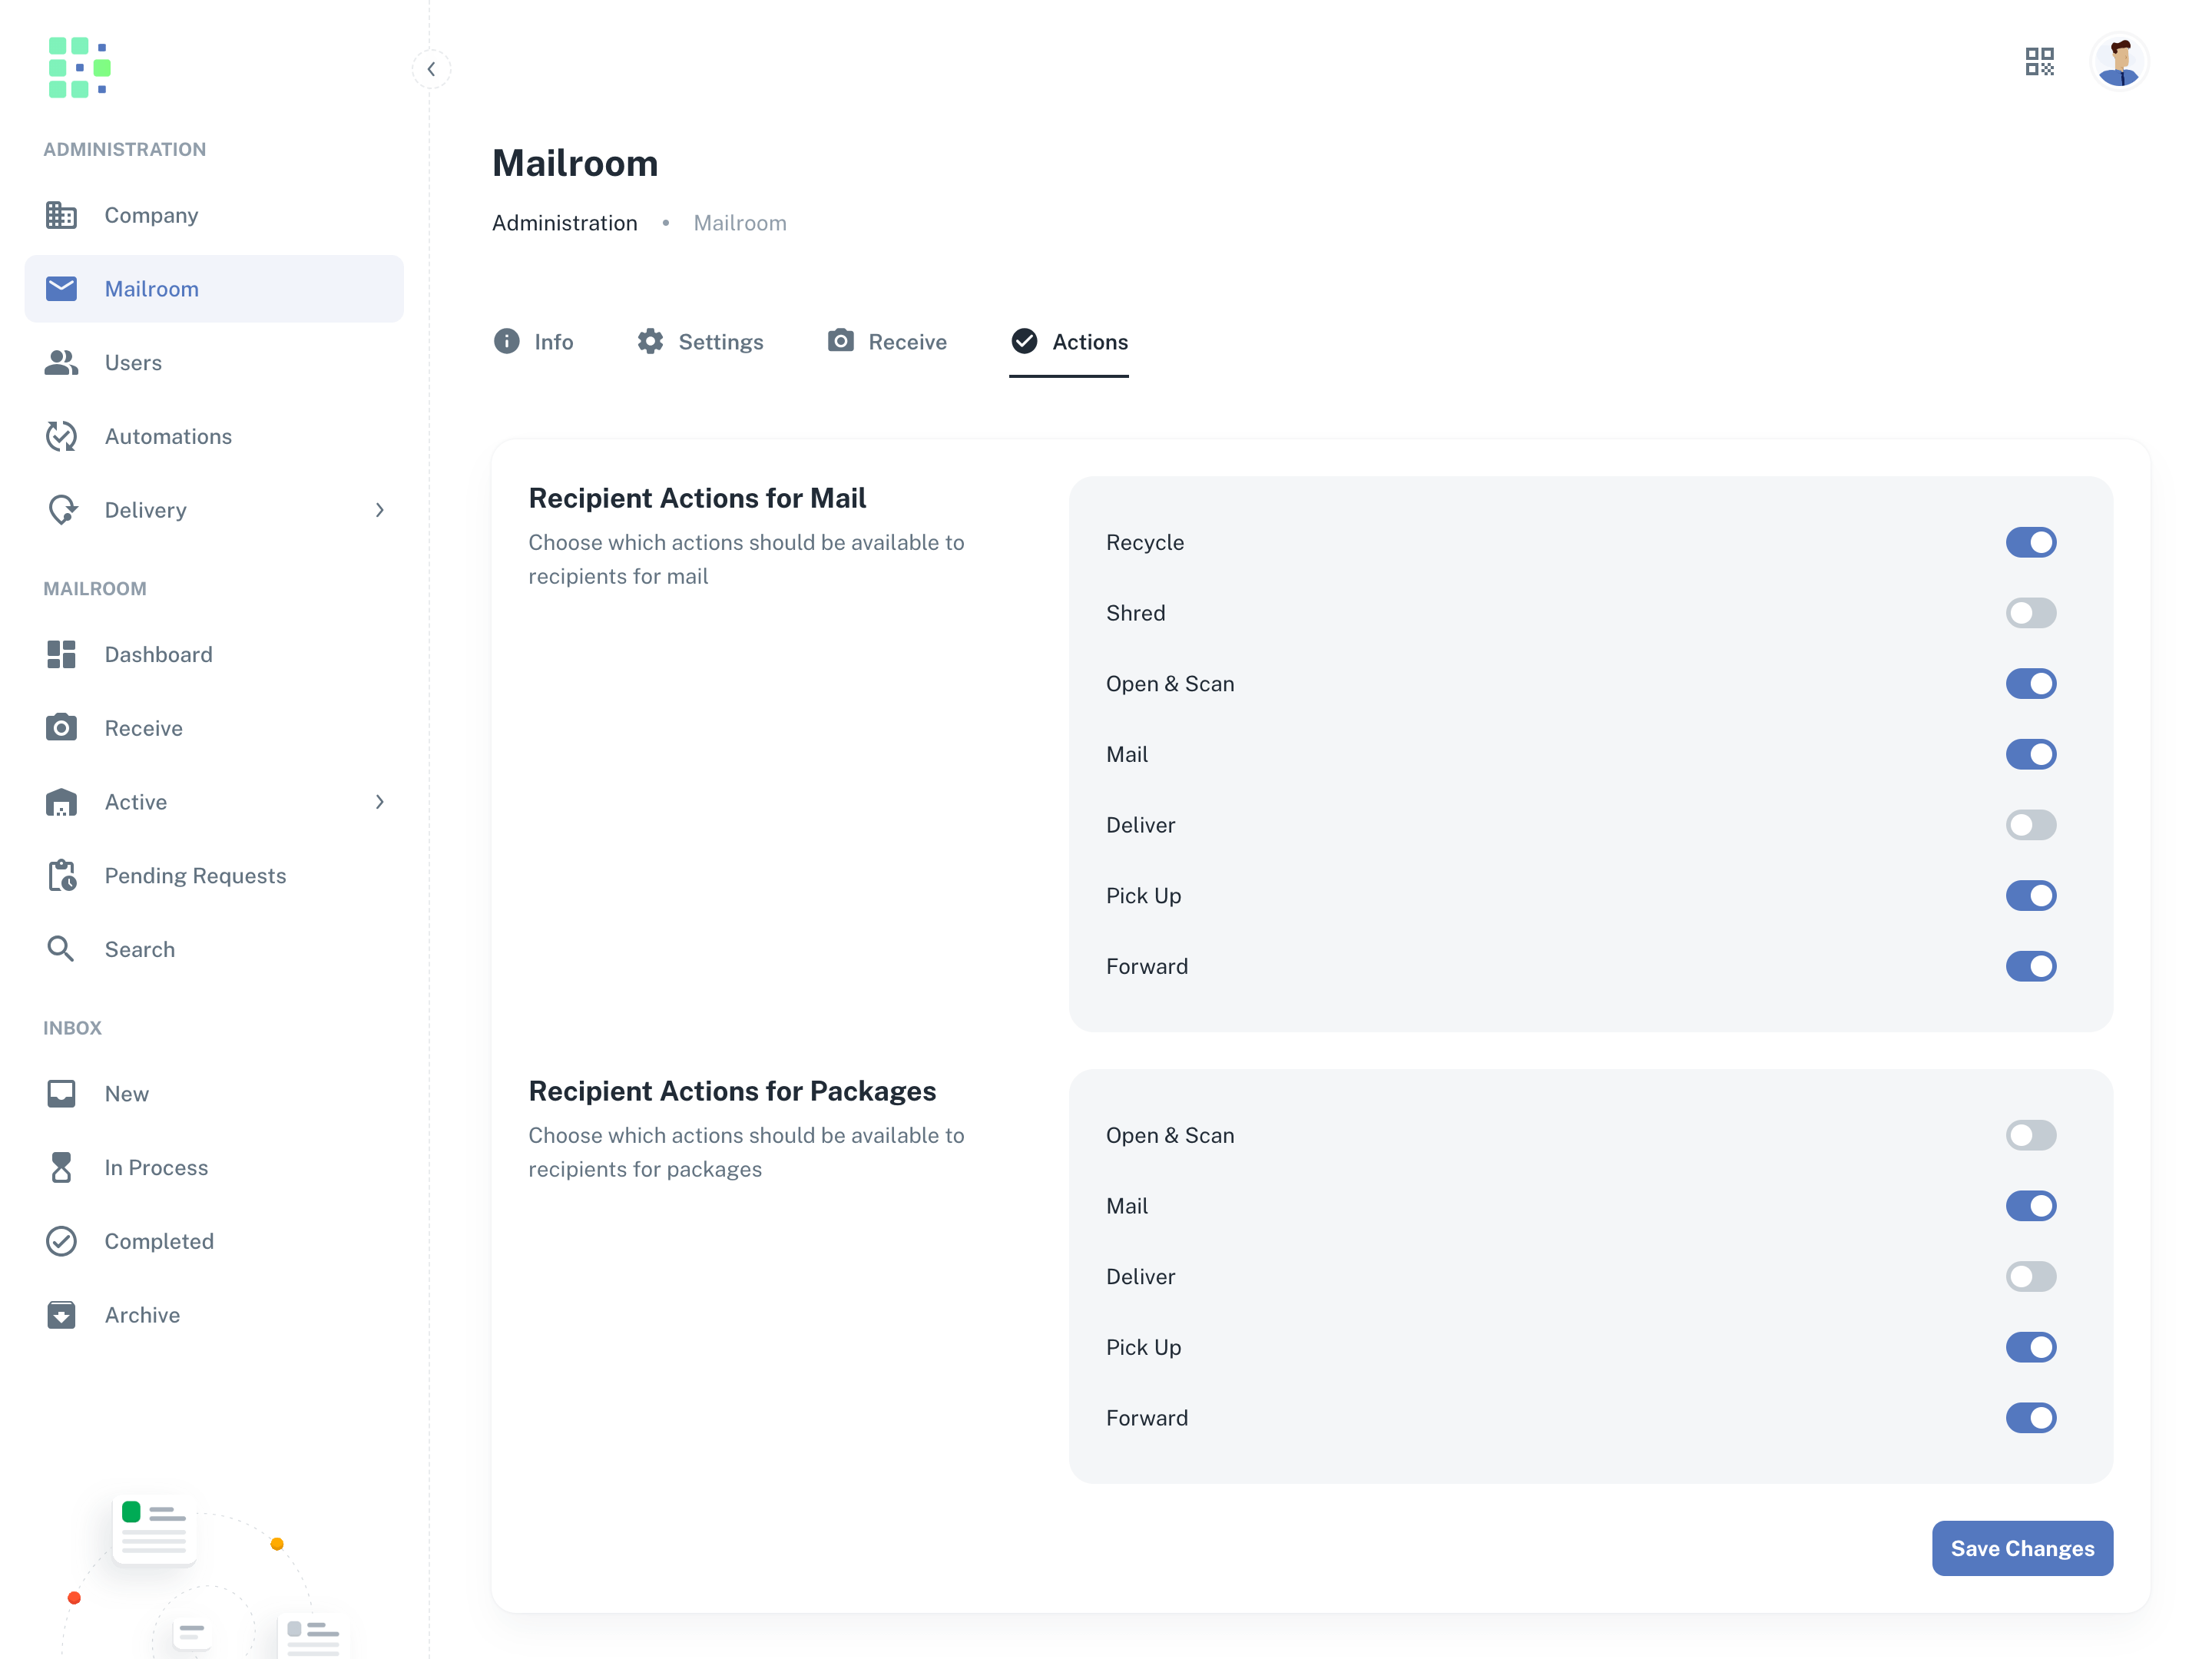
Actions
Under the Actions tab, you can adjust the actions that are available to recipients for mail and packages.
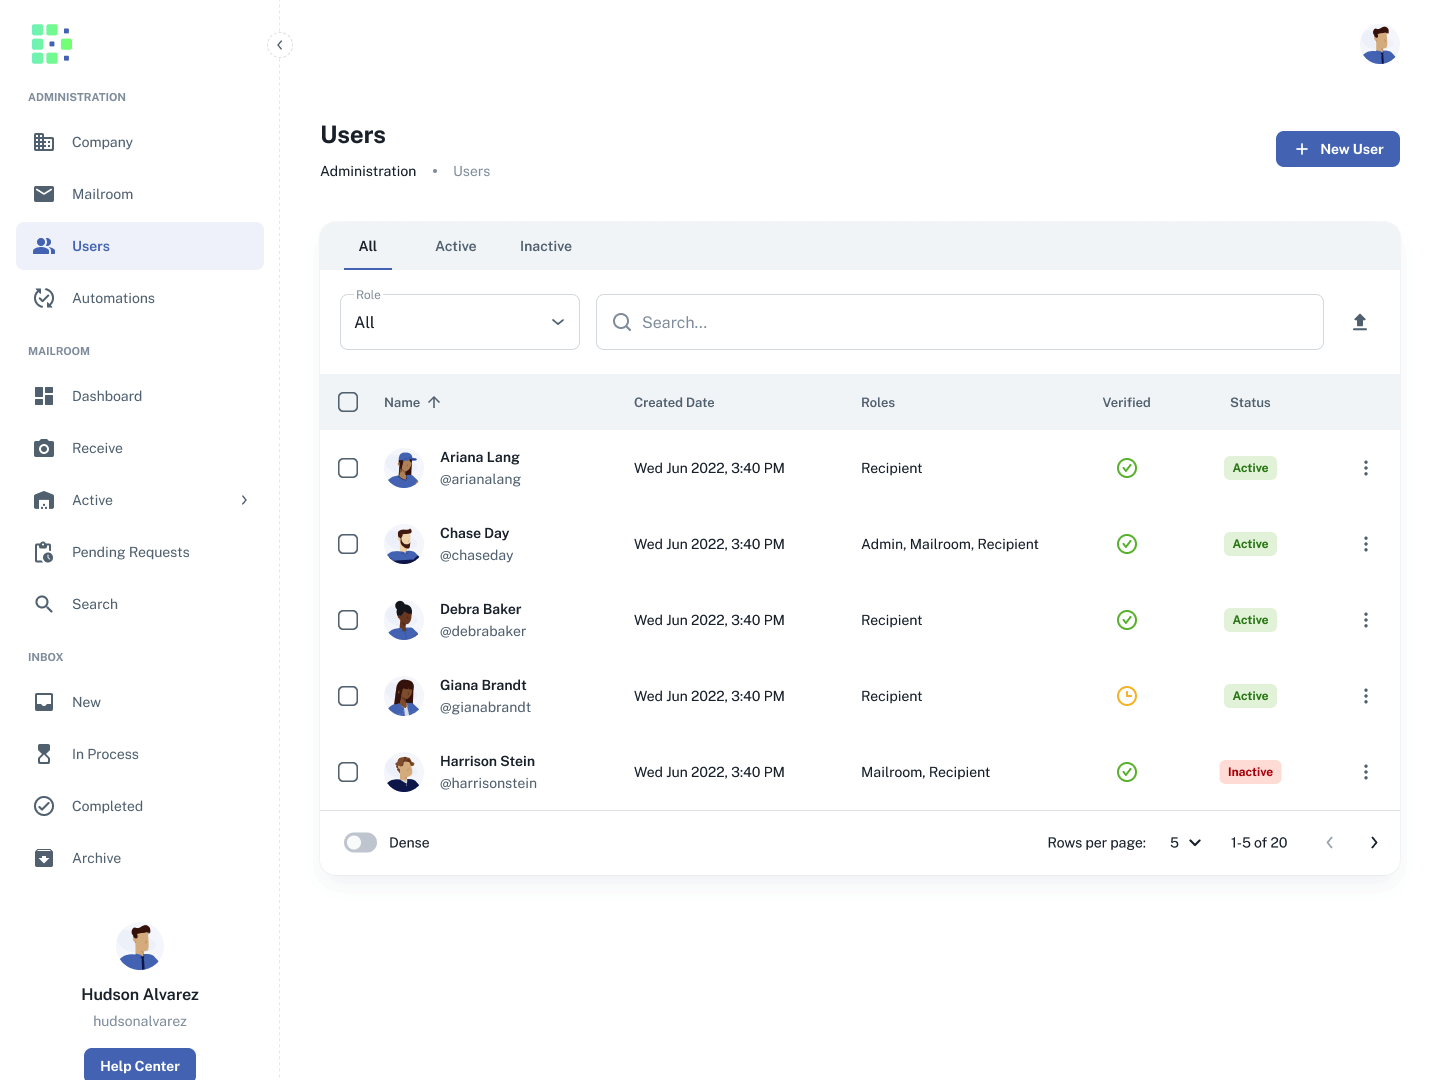
Users
The Users page is where users are created and managed. Notice that you can filter the table by state (Active or Inactive) using the tabs at the top and by role (Admin, Mailroom, and Recipient) using the dropdown field.
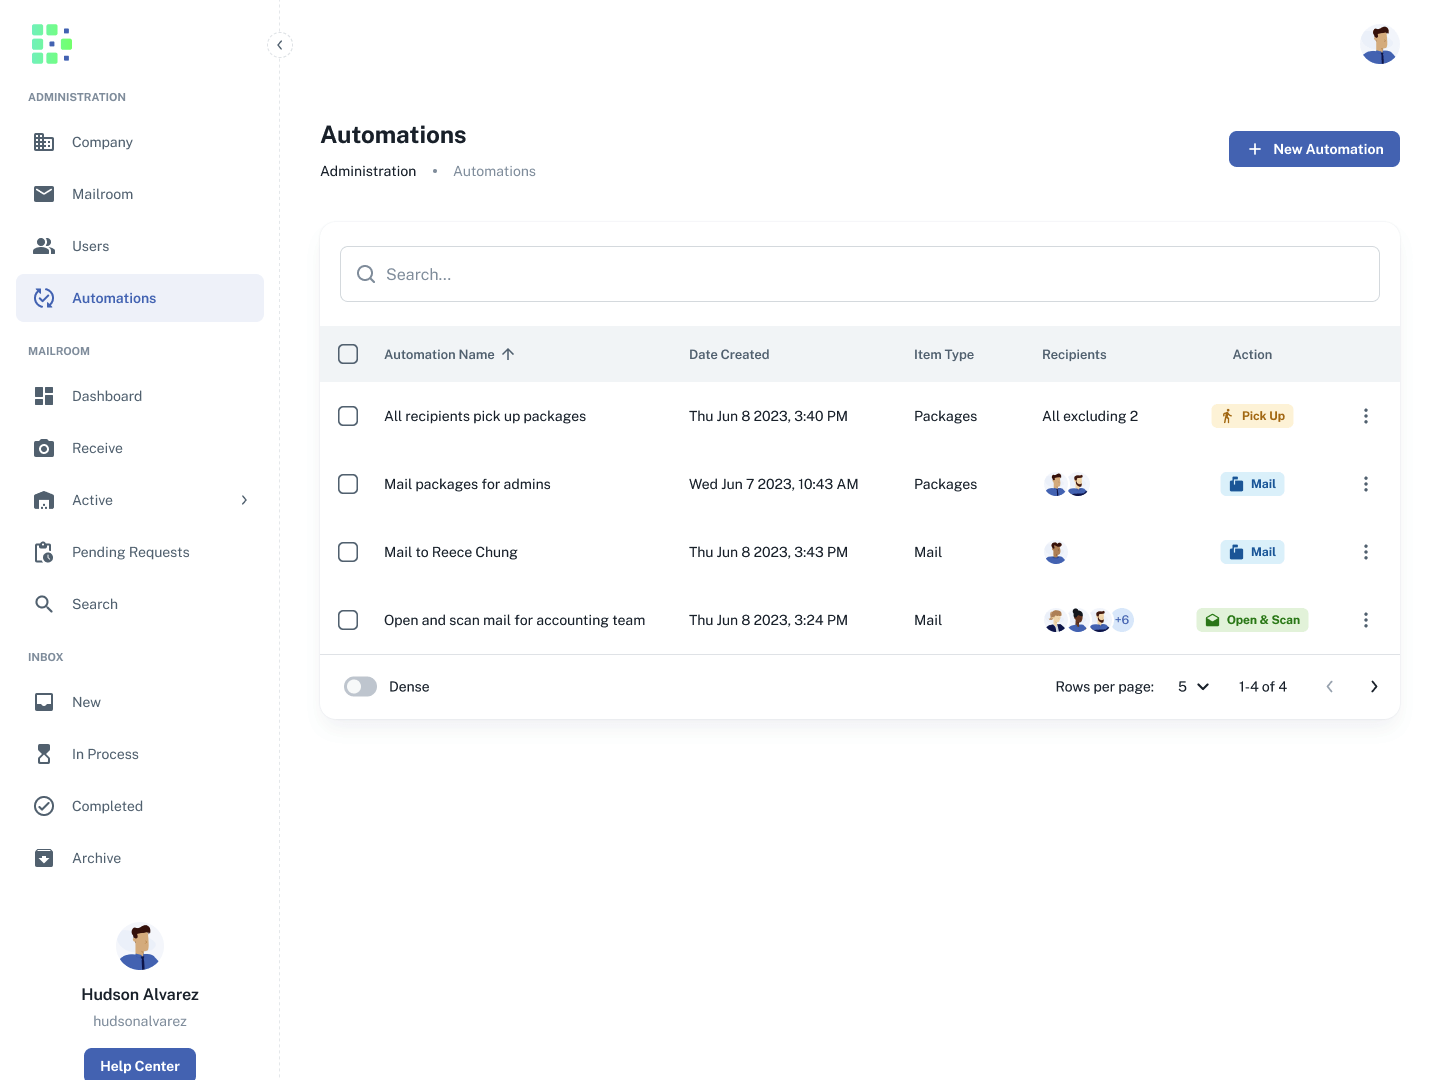
Automations
Automations in Received Digital allow you to create rules that automate recipient requests for items. Setting up an automation is helpful when a recipient requests the same action for every mail piece or package, or the mailroom simply wants to control the action that’s requested for any given recipient and item type.
While the possibilities are endless, here are a few examples where it might make sense to create an automation:
One recipient in particular needs all their mail opened and scanned
All recipients are required to pick up their packages
A handful of recipients need all their items mailed to them