From the beginning, we set out to revolutionize the way mailrooms accomplish one of the most fundamental and critical steps in their process: the intake and logging of inbound mail and packages.
Legacy solutions rely on outdated, handheld barcode scanners and manual entry of basic information like the recipient name. With Received Digital, we’ve empowered mailrooms with a new and smarter approach to this process that’s centered around capturing an image of each item.
This process of receiving and capturing items in Received Digital has taken another step forward with the release of Received Digital 1.4.0. This update brings some significant features and improvements to the capturing process. Here’s a closer look at what’s new.
What's new
Refreshed capturing process
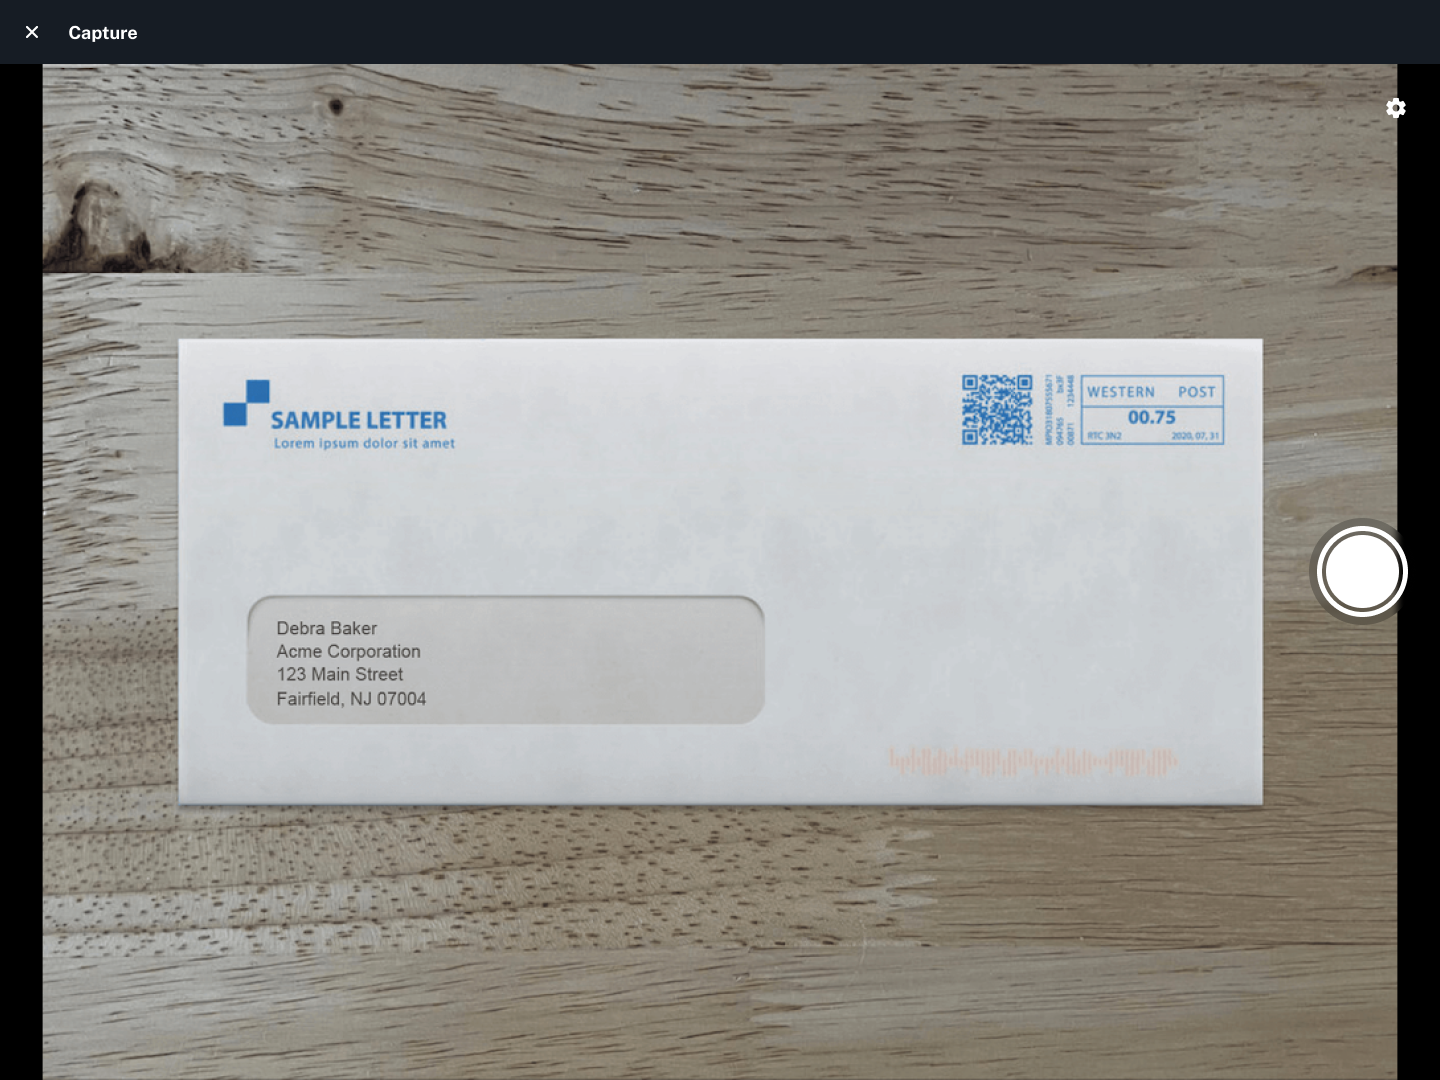
To improve both the usability and efficiency of the single item capture process, we have made a few adjustments to the steps and layout of the capture screens. The steps now follow this order (indicated by the title in the top left):
- Capture: Capture an image of the item
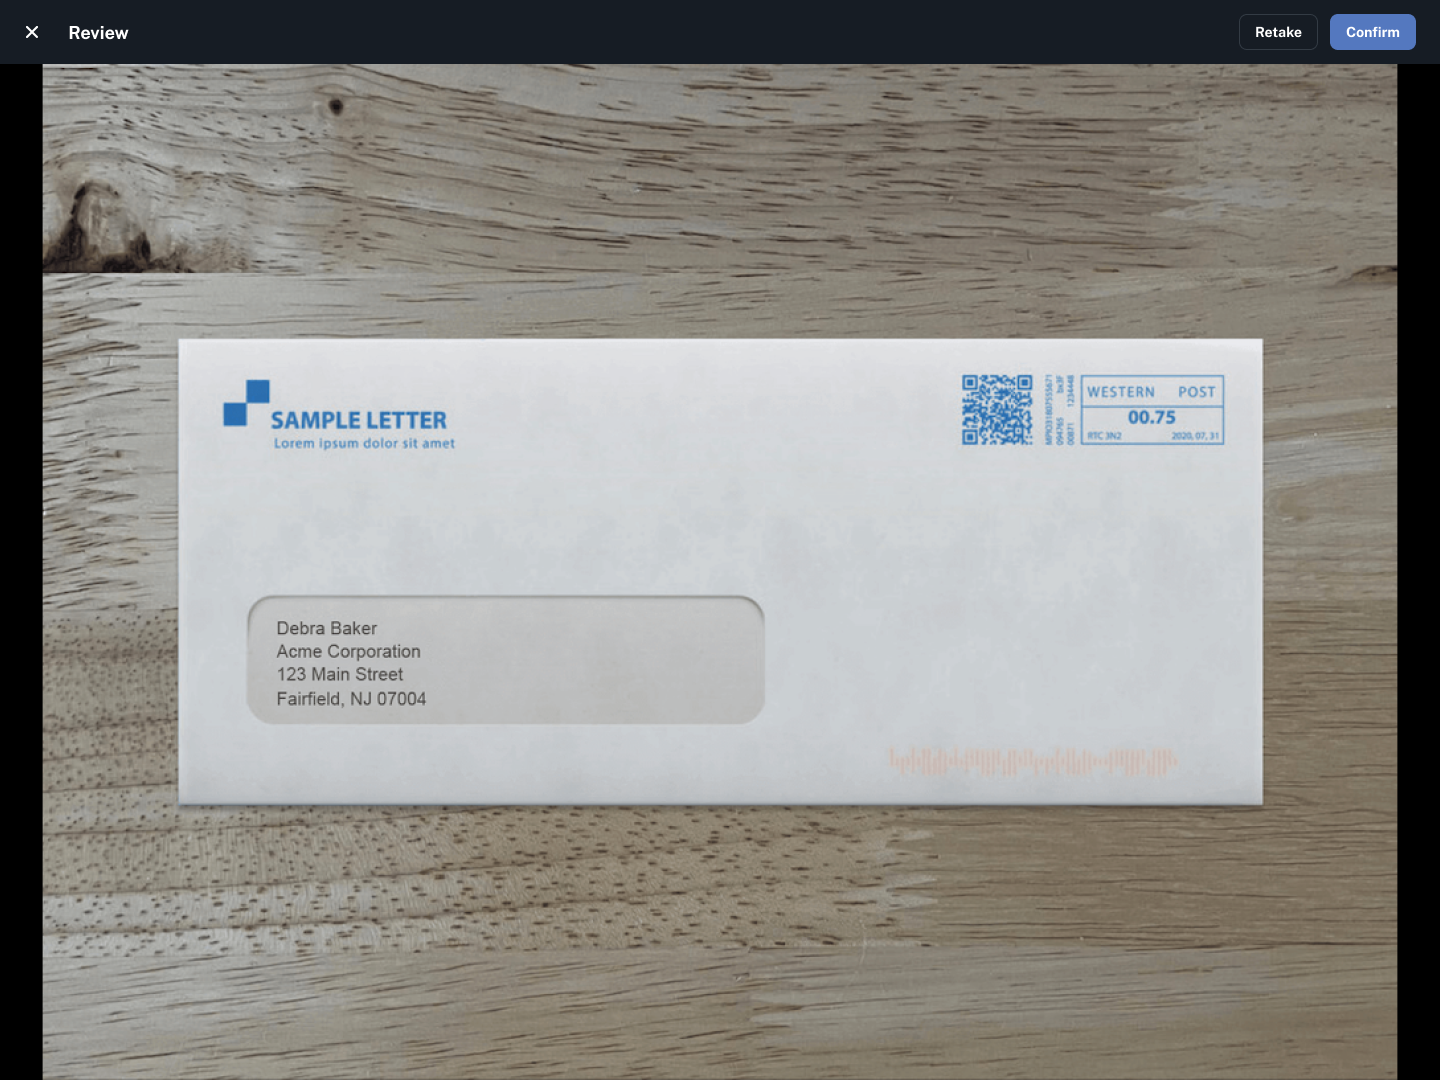
- Review: Confirm you are satisfied with the image
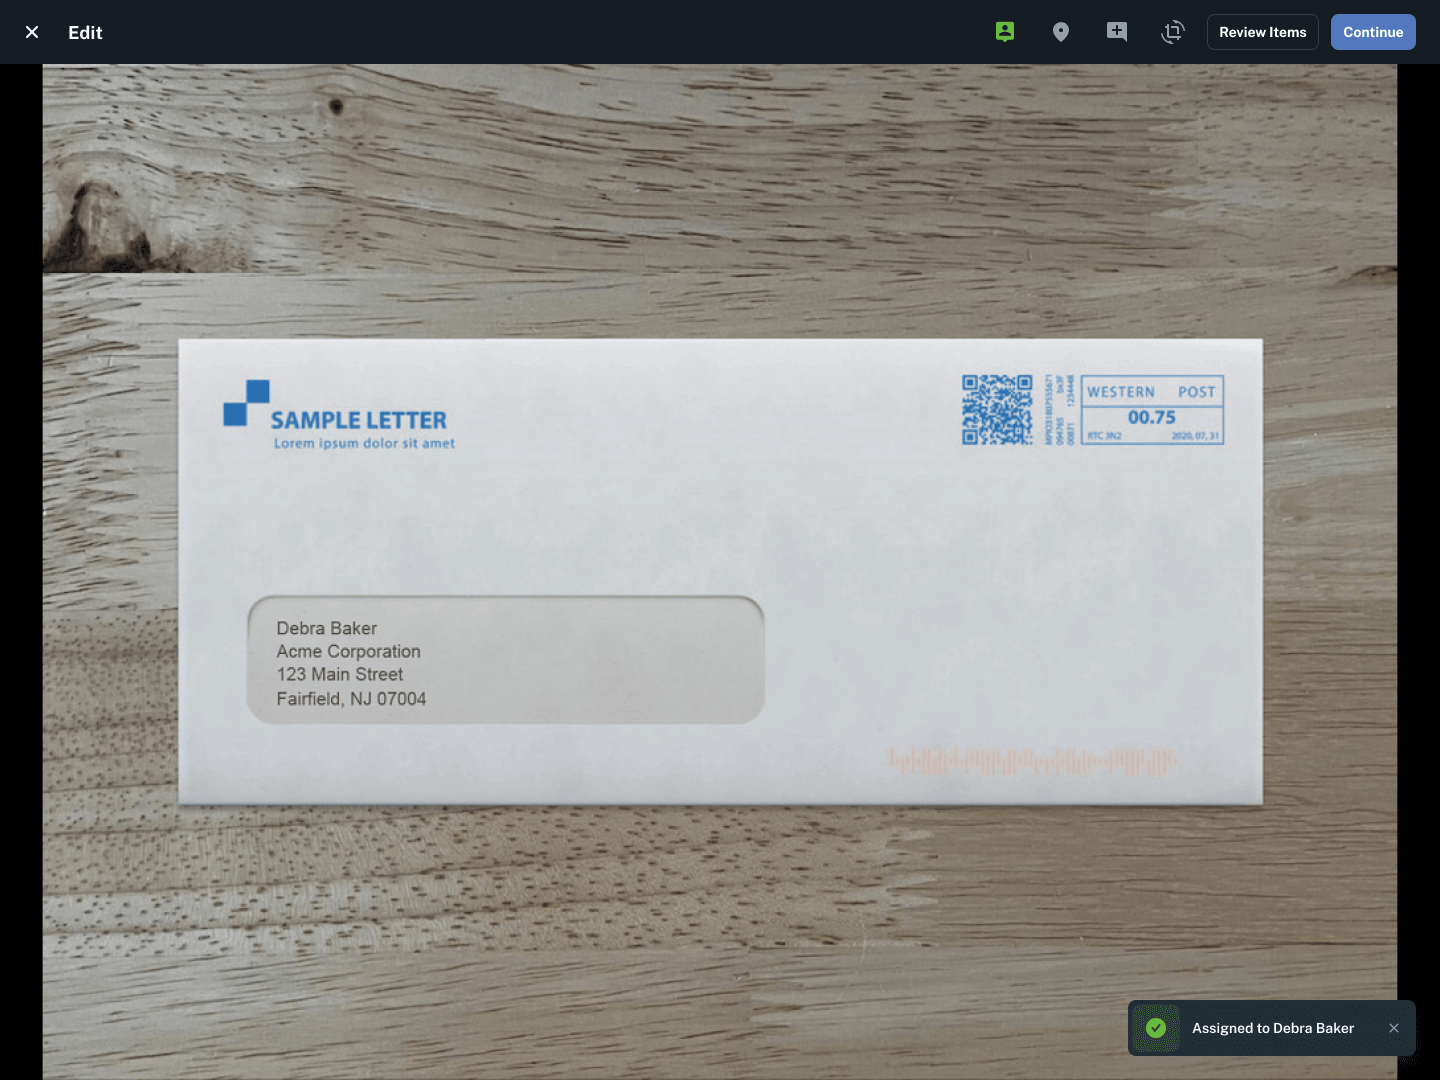
- Edit: Make any edits to the item or image

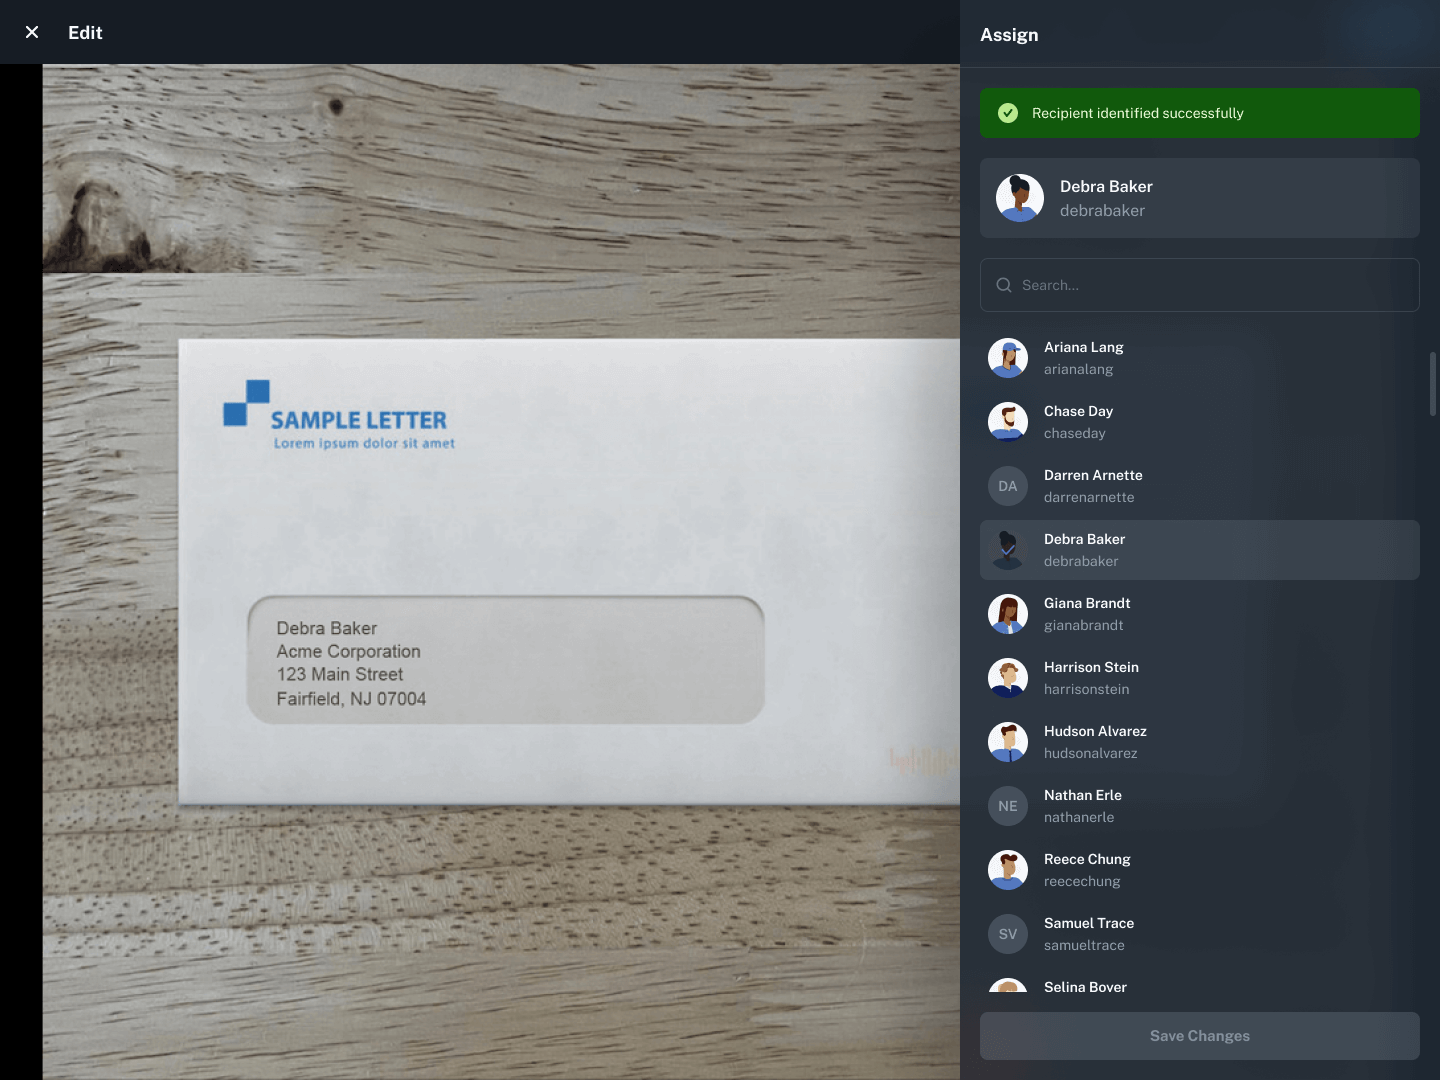
The Edit step contains the most significant changes. The icons at the top right of the screen represent the different actions you can take here. From left to right, you can assign the item, edit its location, add a comment, or crop/rotate the image.
Most importantly, the assign icon has taken the place of the recipient assignment field. Here’s how assignment works now:
When Auto Assign is in progress, you’ll see a progress indicator spinning around the icon. When it has finished, the icon will change color depending on the result. Green means the assignment was successful, yellow means it requires validation, and red means Auto Assign could not assign the item. When the assignment is successful, you’ll also see a message appear in the bottom right telling you who the item was assigned to.
Clicking the assign icon will open a drawer from the right where you have a much better interface for assigning manually if you need to.
The last important feature to note here is that you no longer have to wait for Auto Assign to finish before capturing the next item: Simply click Continue in the top right to move on, and capture images in rapid succession. Throughout all of these steps, you’ll notice a more intuitive layout that is easier to navigate, especially on mobile devices.
New “Review Items” step
After capturing all of your items, you’ll be taken to a new page called Review Items. As the name implies, this final page gives you the opportunity to review all the items you’ve just captured categorized by their assignment status: Assigned, Validate, or Unassigned.
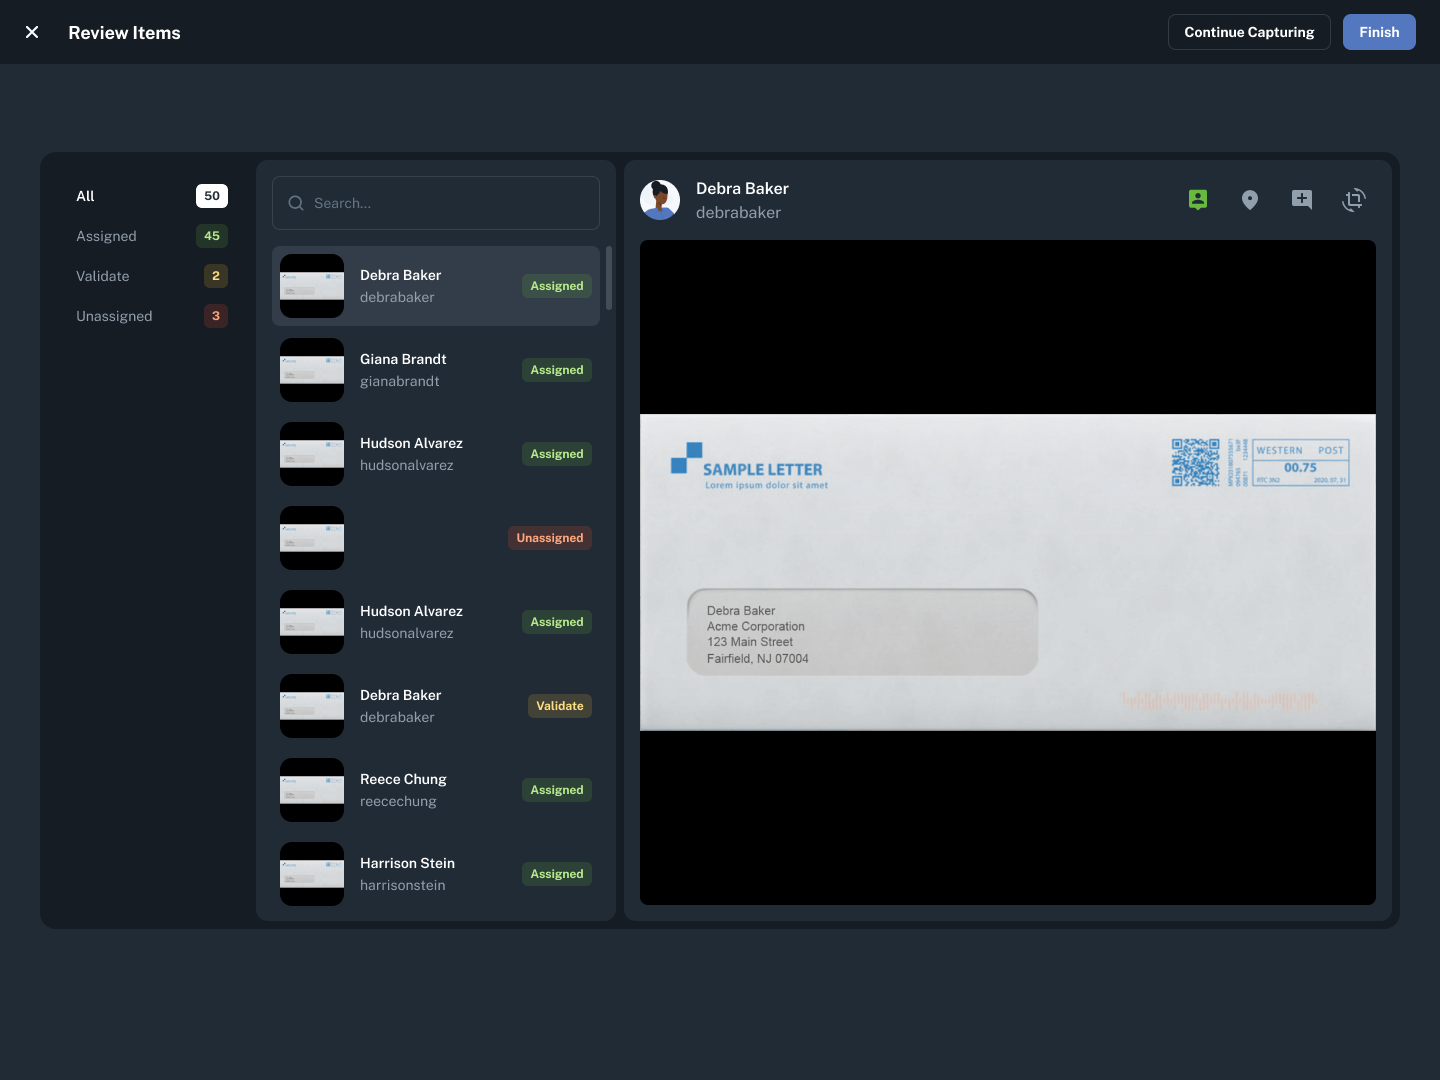
By giving you the opportunity to review all of your captured items here, mailroom operators that wish to capture images in rapid succession can do so while Auto Assign works to assign items in the background. This option allows for more flexibility and greater efficiency.
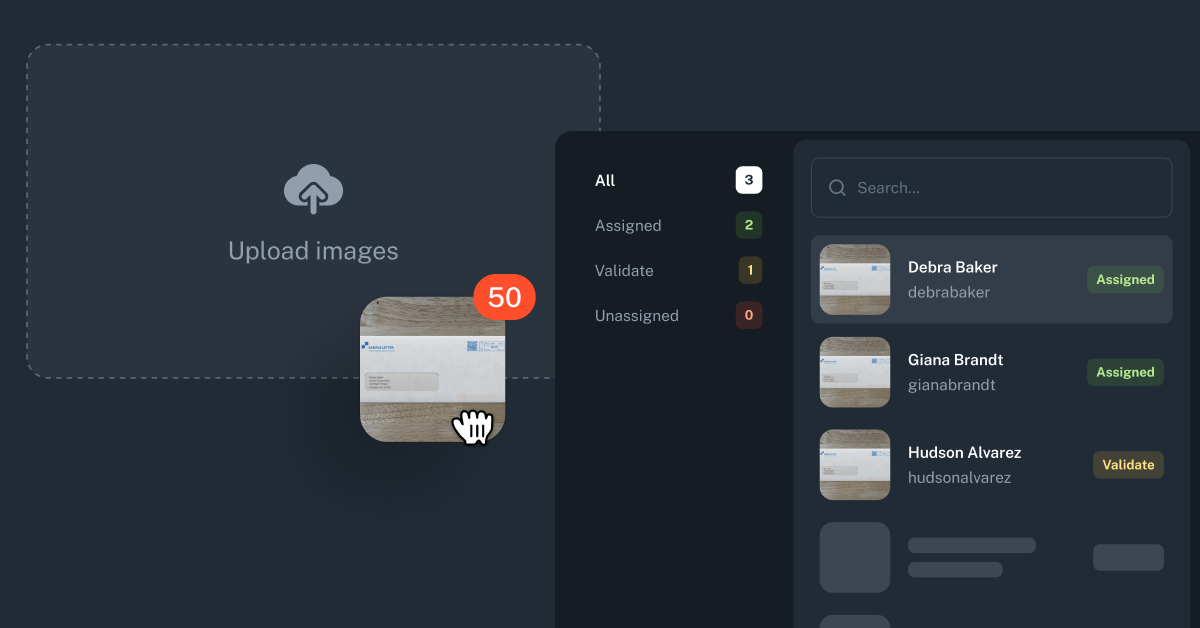
New “Upload Images” capture method
The final important new feature in this update is the addition of the Upload Images capture method. This capture method has been displayed in the application for some time, but it has not been selectable. We’ve finally enabled it with this release.
Upload Images gives you a new way to receive items. Instead of capturing images of items one by one with a built-in camera or one connected to your device, Upload Images gives you the ability to upload a whole batch of images at once. Here’s how it works:
- Capture images of items outside of Received Digital using absolutely any camera or device you choose
- In Received Digital, go to Receive, and select Upload Images as your capture method.
- Click Start Receiving, and you’ll be presented with an upload field where you can drop or select your image files.
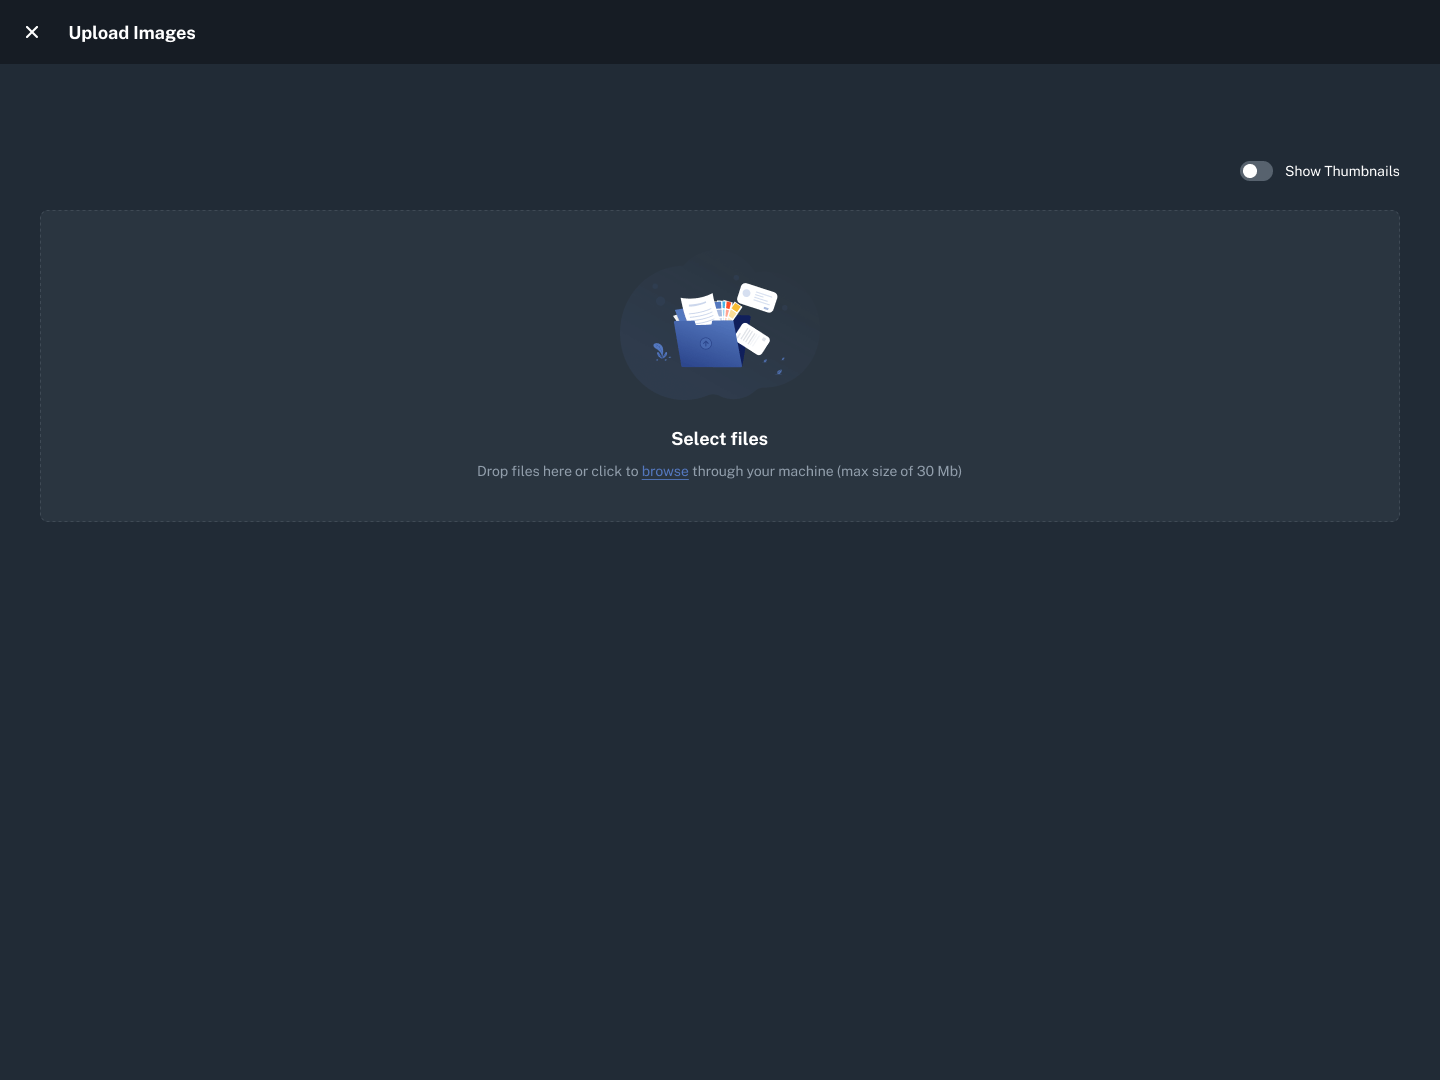
Once you’ve uploaded your images, Received Digital will create the items and Auto Assign will work to assign them to the correct recipient. You’ll once again be presented with the Review Items page where you can see items being loaded in as well as their assignment status.
Boosting flexibility and efficiency
All of these enhancements in Received Digital 1.4.0 are designed to provide your mailroom with flexible and efficient workflow options, so you can receive items in the way that’s most efficient for your team.
The refreshed capture process increases speed and usability with a simpler interface and cleaner layout, most notable on mobile devices. The ability to rapidly capture images of items while Auto Assign works in the background and then review them on the new Review Items page gives your mailroom more power to receive items quickly. Meanwhile, the Upload Images capture method offers even more flexibility in how items are received and added to the application, accommodating various workflows and preferences.
We believe these new features and improvements will make your mailroom operations more efficient, accurate, and user-friendly. Stay tuned for more exciting updates and features coming soon!